Mail Merge from Google Sheets to Google Slides
Let us say you're a teacher and you want to create a personalized grade certificate for each of your students. You've decided to use Google Slides to create these certificates and you plan to use the same design that you used last year.
Given how busy you've been, it is Saturday and these certificates need to be ready by Monday morning! You groan because you're really not looking forward to spending 2 hours creating certificates for your class of 30 students! It is boring and repetitive work but you want to ensure that your students get their certificates on time.
In this tutorial, I will show you how you can automate the process of creating these certificates by "mail merging" data from a Google Sheets spreadsheet into Google Slides. All you have to do is spend a few minutes entering the grades of your students into a spreadsheet (actually you probably already have a spreadsheet with this information). Then with a few lines of Apps Script code you can create certificates for your entire class in under two minutes!!
What is a Mail Merge?
I've described what a mail merge is in detail in the following tutorial: Mail Merge in Google Sheets. A quick summary is that a mail merge involves taking data from a spreadsheet to create personalized emails or documents. Typically, a mail merge application will involve a template that contains placeholders for content to be filled in. The data from each row in the spreadsheet will be filled into these placeholders to create personalized documents. Each row in the spreadsheet will usually correspond to a separate "merged" email or document.
Consider the following spreadsheet that has a header row and 6 rows containing data about student grades.
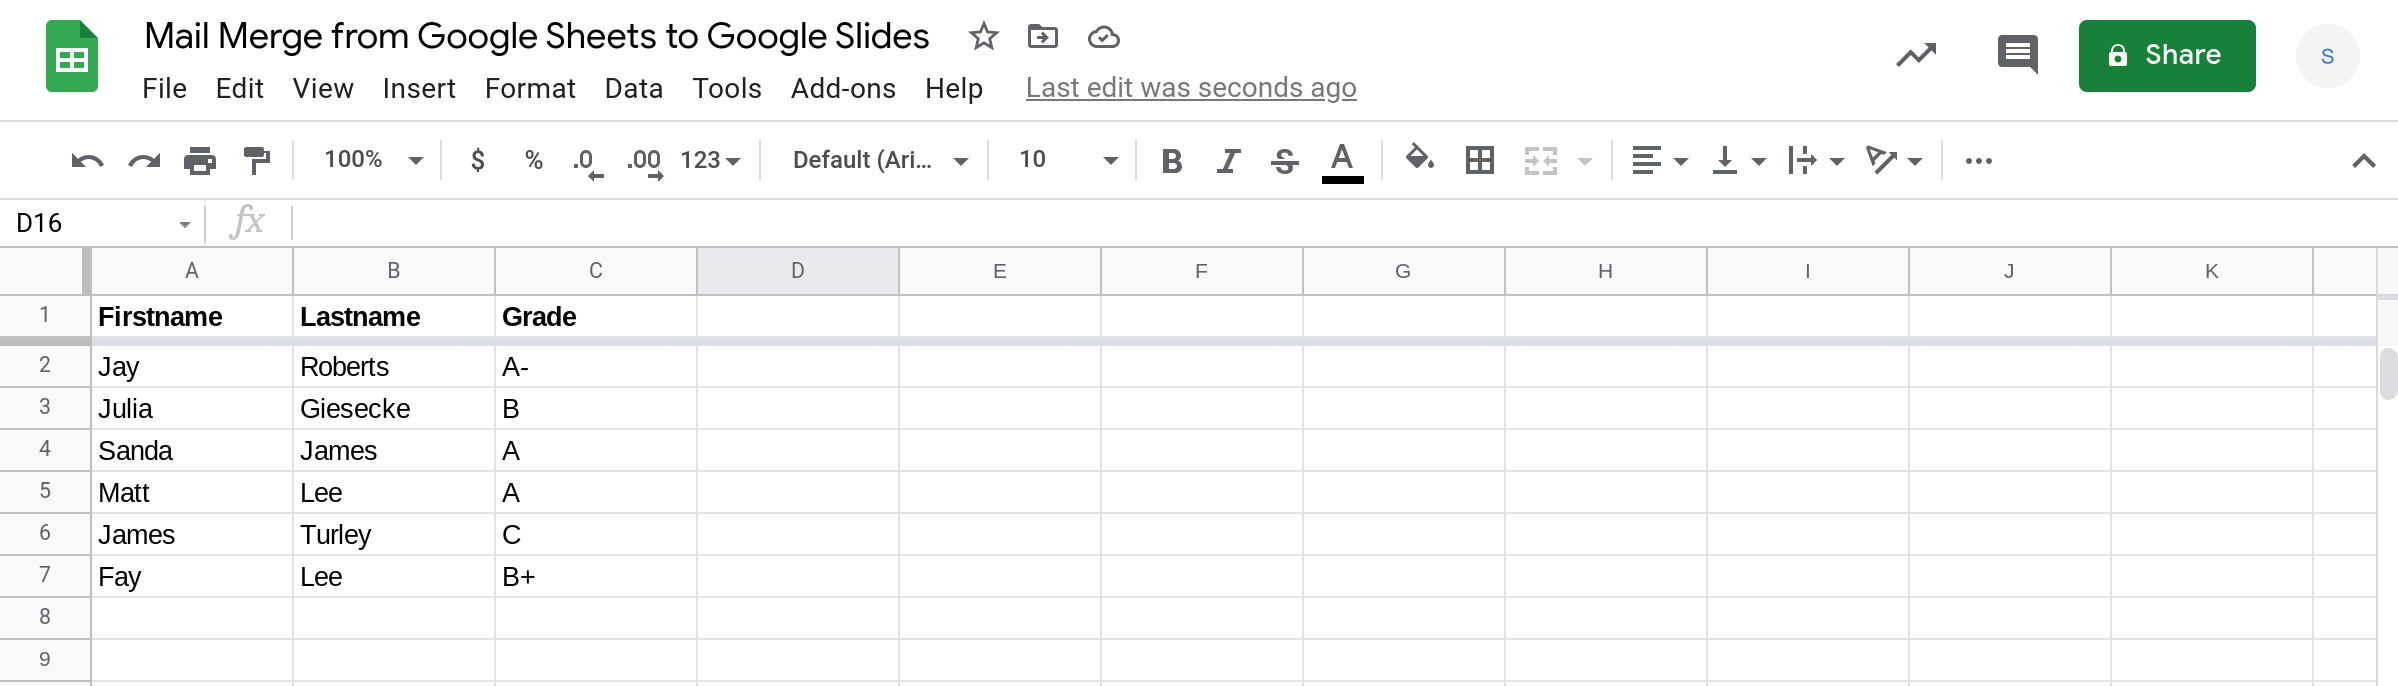
Our goal is to create 6 grade certificates, one per student, using the power of Apps Script. Instead of spending two hours creating these certificates for a class, you can be done in two minutes! Here is a video that shows what we'll be building in this tutorial.
Prerequisites
This tutorial assumes that you're familiar with:
How to create and run simple Apps Script scripts using the script editor in Google Sheets?
Reading from and writing to a range in Google Sheets using Apps Script.
You may also find the following tutorial helpful: Iterating through rows in a Google Sheet using Apps Script.
Triggers in Google Sheets (especially the
onOpen()simple trigger).Create a copy of a Google Slides presentation using Apps Script
4 steps to create a Mail Merge from Google Sheets to Google Slides
Step 2 — Create a Google Sheets spreadsheet containing the grades of students in your class
Step 3 — Create an Apps Script to mail merge information from Google Sheets to Google Slides
Step 4 — Run your mail merge script to confirm that it works correctly
Step 1 — Create a Google Slides presentation template
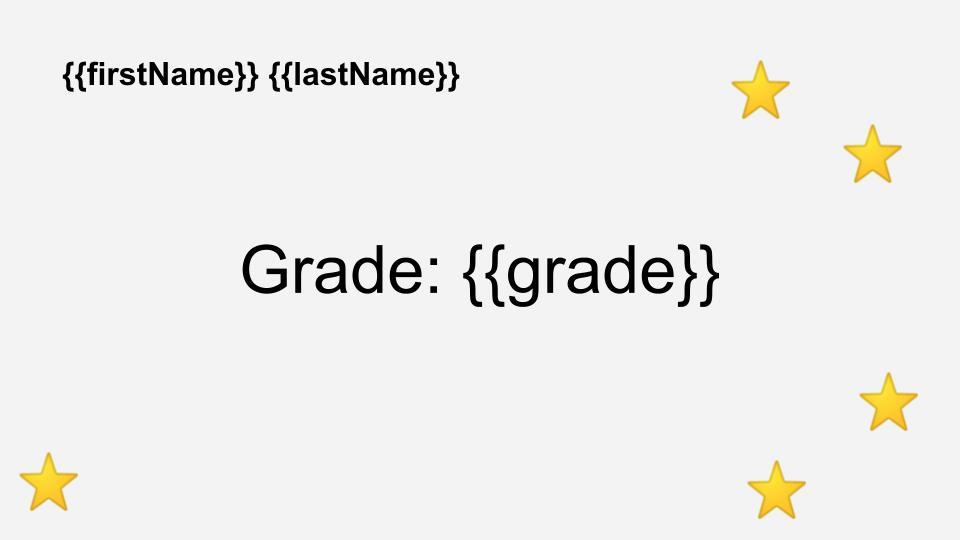
The first step is to create a Google Slides template for the certificate. I created a simple template that has three variables:
{{firstName}}: The first name of the student.{{lastName}}: The last name of the student.{{grade}}: The student's grade.
Note
Notice the curly braces ({{ and }}) around each variable's name? This is to help us easily identify the variables in the template.
These variables need to be filled (i.e., "mail merged") using data from a spreadsheet to create the certificate.
Step 2 — Create a Google Sheets spreadsheet containing the grades of students in your class
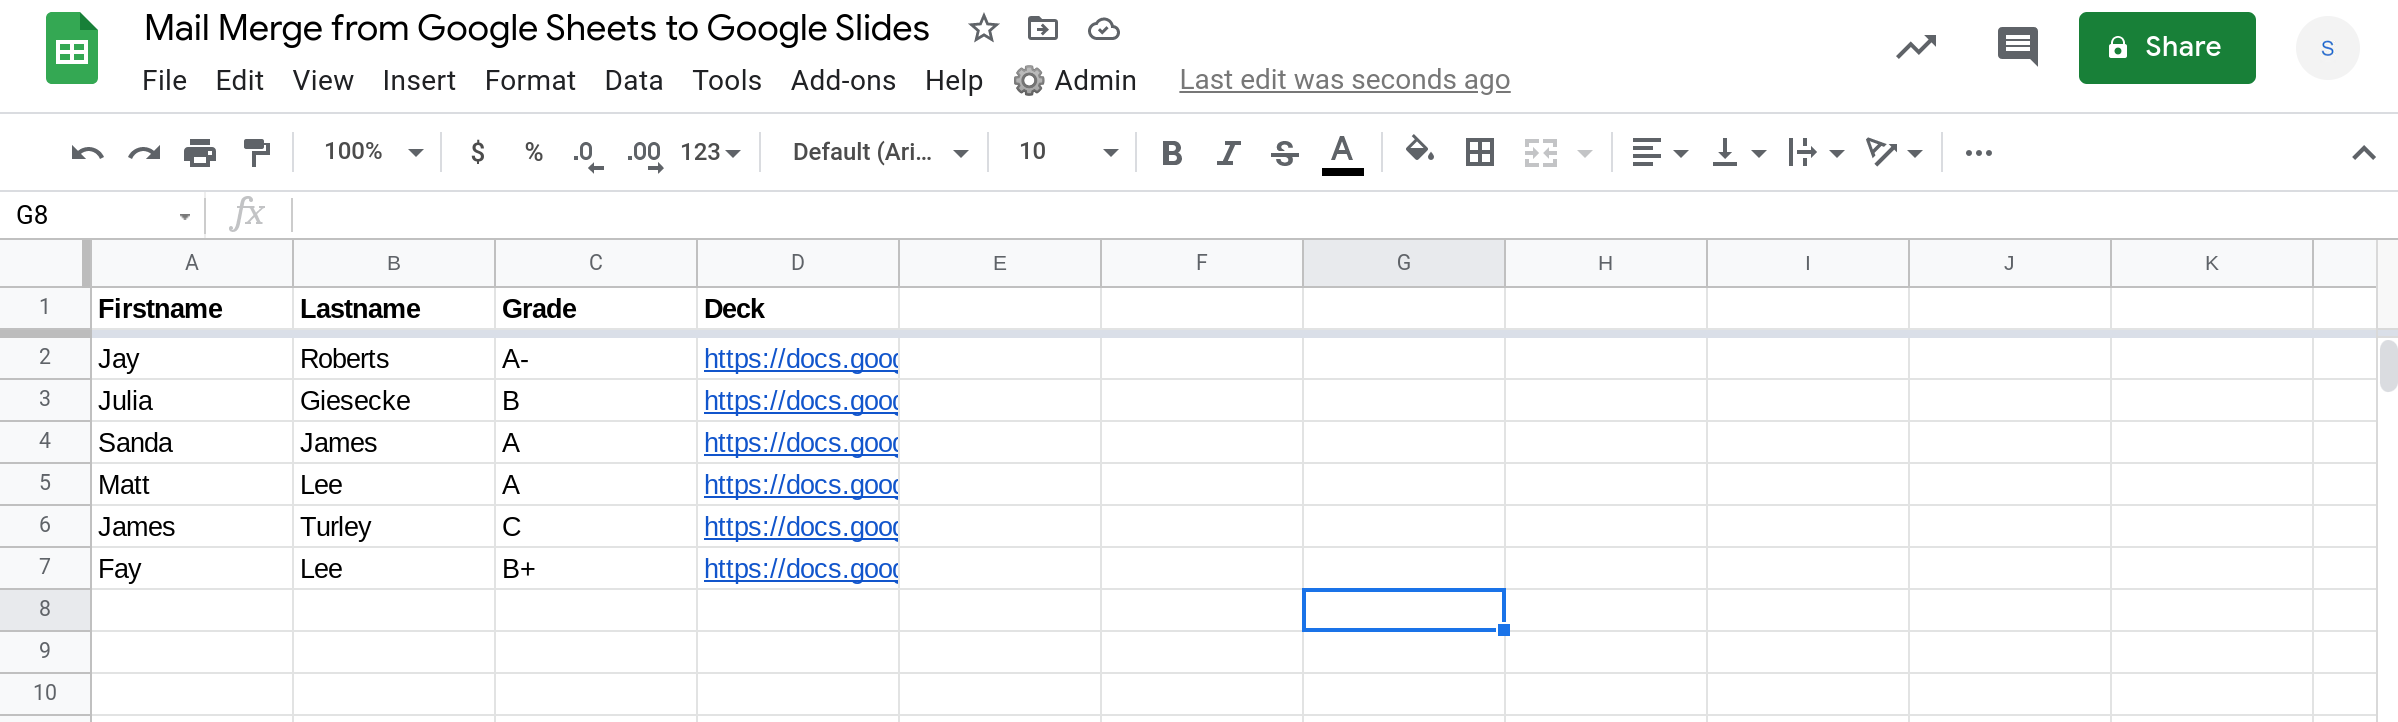
The next step is to create a Google Sheets spreadsheet and enter the data needed to create personalized certificates. Since the template has three variables, we need three columns in the spreadsheet, one per variable. We'll also create a fourth column to link to each student's certificate slide deck.

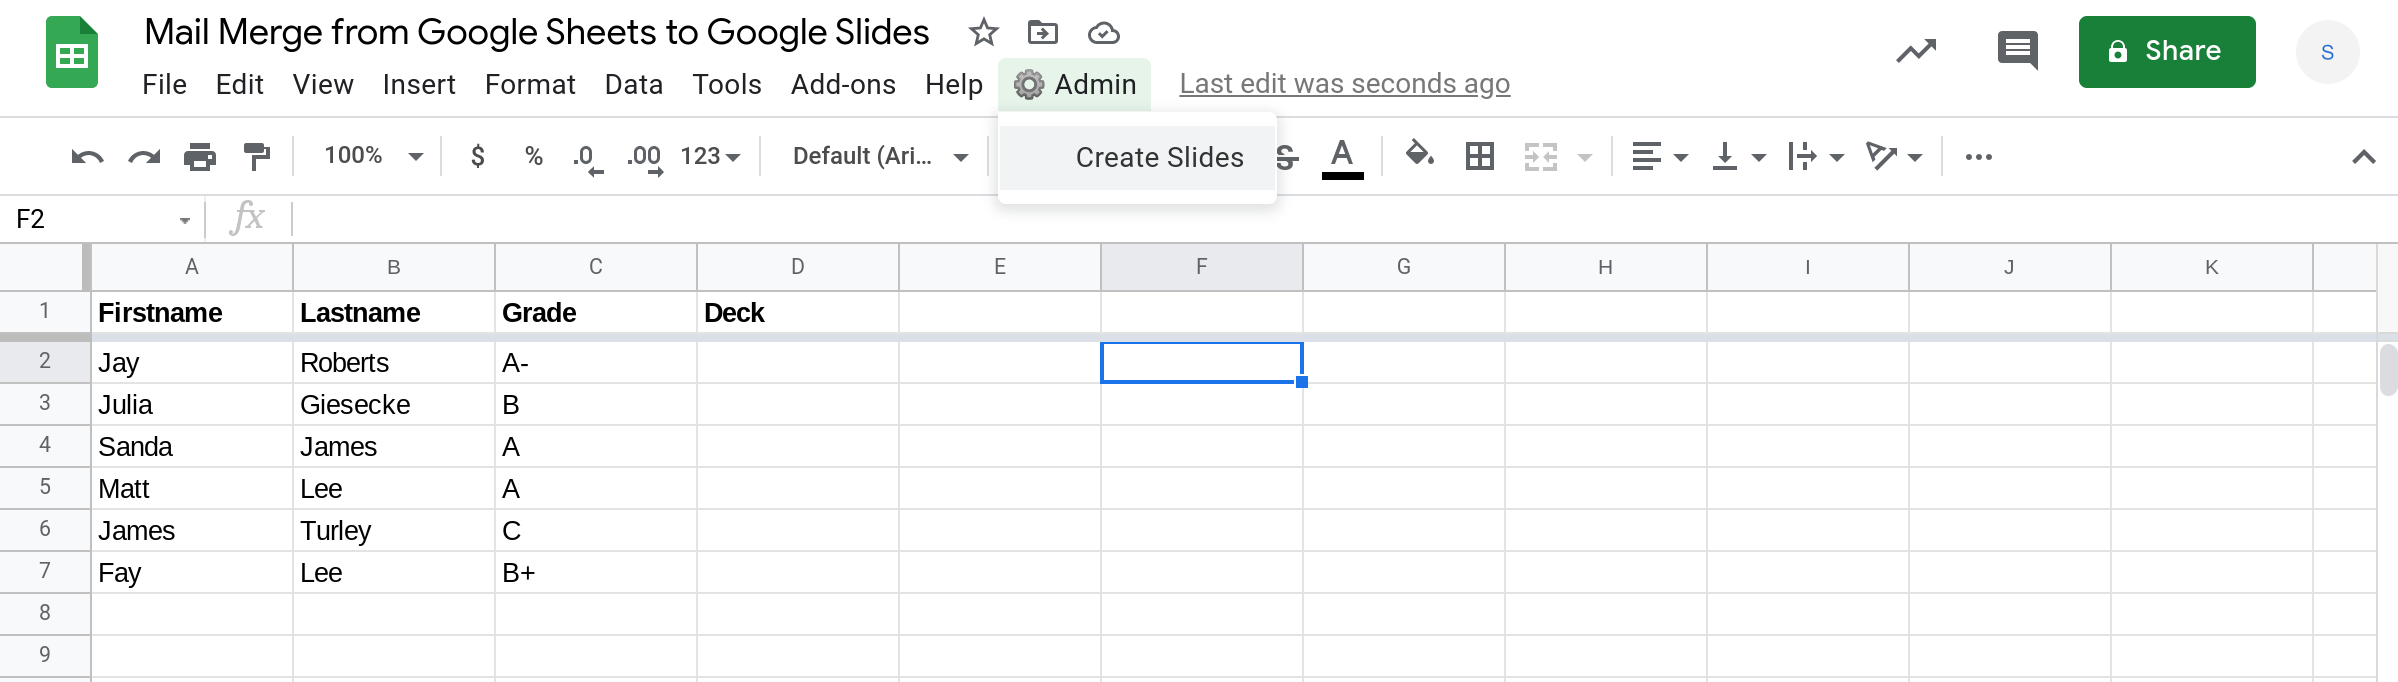
You'll notice that the spreadsheet has a custom menu called ⚙️ Admin with a menu item called Create Slides. When you select this menu item, the script (that we're going to create in step 3) will run and it will create certificates for each student.
Step 3 — Create an Apps Script to mail merge information from Google Sheets to Google Slides
Now that we've created the certificate template and the spreadsheet containing data, we need to write the script to do the mail merge. Here is how the script will work:
First, the script will read all of the rows in the spreadsheet.
For each row, it will create a copy of the certificate template and replace its variables with the contents of that row. The link to this certificate will be added to the 4th column of the row.
Finally the rows, which now also contain links to the generated certificates, will be written to the spreadsheet.
The script also creates a custom menu using an onOpen() simple trigger to make it easy to run the script.
Note
Remember to replace <SLIDES_ID> in the createCopyOfSlidesTemplate() function with the actual Id of your Google Slides presentation template. You can get the Id from the URL of the presentation.
https://docs.google.com/presentation/d/<SLIDES_ID>/edit
I've added comments to the code so you can understand how it works.
function mailMergeSlidesFromSheets() {
  // Load data from the spreadsheet
  var dataRange = SpreadsheetApp.getActive().getDataRange();
  var sheetContents = dataRange.getValues();

  // Save the header in a variable called header
  var header = sheetContents.shift();

  // Create an array to save the data to be written back to the sheet.
  // We'll use this array to save links to Google Slides.
  var updatedContents = [];

  // Add the header to the array that will be written back
  // to the sheet.
  updatedContents.push(header);

  // For each row, see if the 4th column is empty.
  // If it is empty, it means that a slide deck hasn't been
  // created yet.
  sheetContents.forEach(function(row) {
    if(row[3] === "") {
      // Create a Google Slides presentation using
      // information from the row.
      var slides = createSlidesFromRow(row);
      var slidesId = slides.getId();

      // Create the Google Slides' URL using its Id.
      var slidesUrl = `https://docs.google.com/presentation/d/${slidesId}/edit`;

      // Add this URL to the 4th column of the row and add this row
      // to the updatedContents array to be written back to the sheet.
      row[3] = slidesUrl;
      updatedContents.push(row);
    }
  });

  // Write the updated data back to the Google Sheets spreadsheet.
  dataRange.setValues(updatedContents);

}

function createSlidesFromRow(row) {
 // Create a copy of the Slides template
 var deck = createCopyOfSlidesTemplate();

 // Rename the deck using the firstname and lastname of the student
 deck.setName(row[0] + " " + row[1]);

 // Replace template variables using the student's information.
 deck.replaceAllText("{{firstName}}", row[0]);
 deck.replaceAllText("{{lastName}}", row[1]);
 deck.replaceAllText("{{grade}}", row[2]);

 return deck;
}

function createCopyOfSlidesTemplate() {
 //
 var TEMPLATE_ID = "<SLIDES_ID>";

 // Create a copy of the file using DriveApp
 var copy = DriveApp.getFileById(TEMPLATE_ID).makeCopy();

 // Load the copy using the SlidesApp.
 var slides = SlidesApp.openById(copy.getId());

 return slides;
}

function onOpen() {
 // Create a custom menu to make it easy to run the Mail Merge
 // script from the sheet.
 SpreadsheetApp.getUi().createMenu("⚙️ Admin")
   .addItem("Create Slides", "mailMergeSlidesFromSheets")
   .addToUi();
}
Step 4 — Run your mail merge script to confirm that it works correctly
The final step is to run your script so you can confirm that it works correctly. To run your script, select the Create Slides menu item from the Admin custom menu.
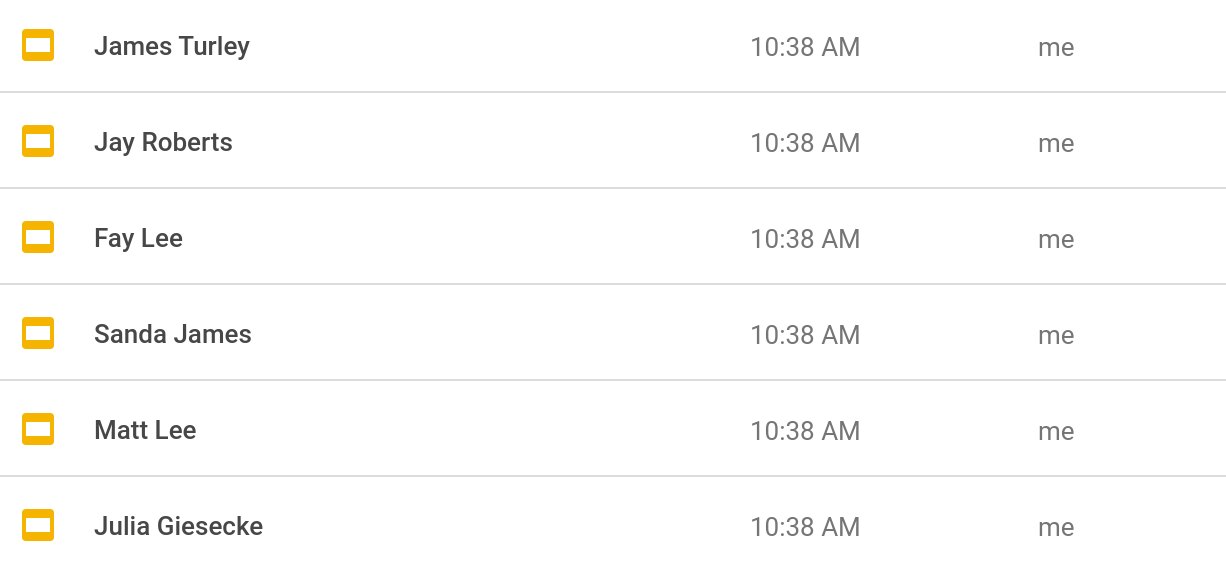
When your script finishes running, you'll see links to the generated certificates populated in the fourth column of the sheet.
You'll also see these certificates (which are basically Google Slides presentations) in your Drive.
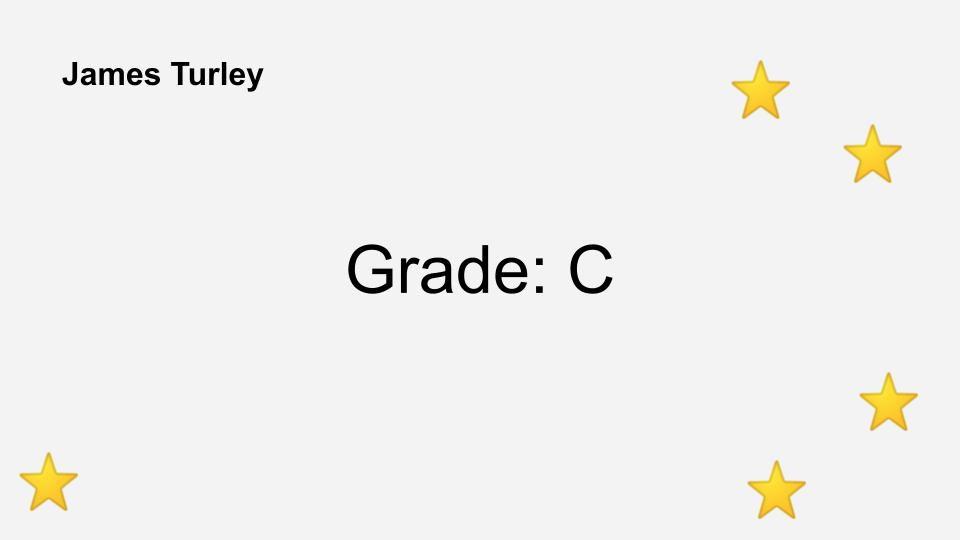
When you open these certificates, you'll notice that the variables in the template were correctly replaced with each student's name and grade.
Here is James' certificate:
Here is Jay's certificate:
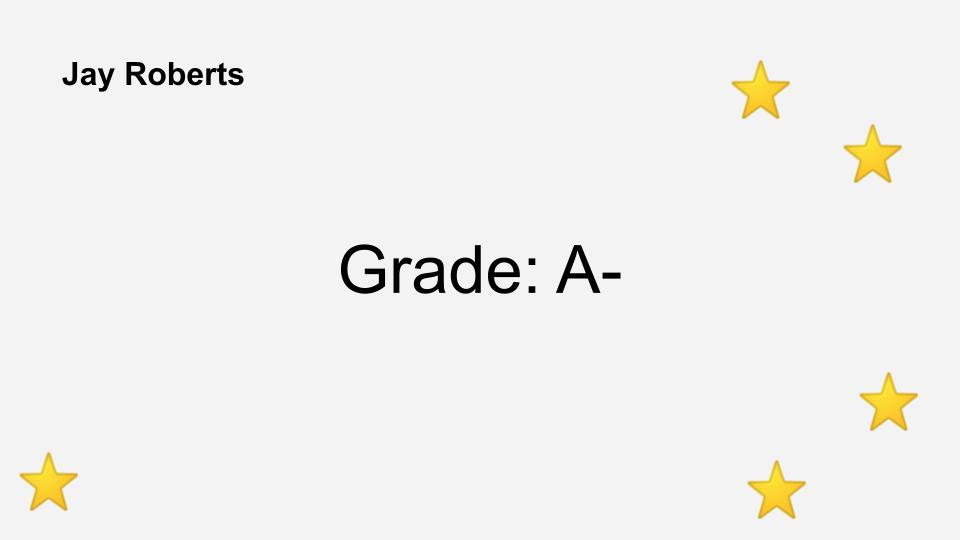
As you can see, each student's certificate contains their name and grade. That is, the data from the spreadsheet was correctly merged with the certificate template in Slides to produce personalized certificates per student. The best part is that the script takes less than a minute to run. A process that might have taken two hours can now be completed in just a few minutes!
I've said it before on this blog but learning Apps Script can be very rewarding since you can immediately apply the concepts you learn to automate your tasks.
Conclusion
In this tutorial you learned how to create personalized student certificates by mail merging data from Google Sheets into a Google Slides template. Hope you found this tutorial helpful.
Thank you for reading!
Stay up to date
I'd appreciate any feedback you can give me regarding this post.
Was it useful? Are there any errors or was something confusing? Would you like me to write a post about a related topic? Any other feedback is also welcome. Thank you so much!