Website monitoring using Google Sheets and Apps Script
In this tutorial, I will show you how to monitor your website using Apps Script. If you maintain a website, it is important to monitor it periodically to check if it is still up and working correctly. Doing this manually can be tedious and you might forget to check your website regularly.
There are many website monitoring services available that will help you automate this process but it is very easy to implement a simple website uptime monitoring solution using just a few lines of Apps Script code. In this tutorial, I'll show you how simple it is to set this up.
Prerequisites
This tutorial assumes that you're familiar with both Google Sheets and Apps Script. If you're new to Apps Script, I've written a detailed tutorial on learning to code with Google Sheets and Apps Script.
In addition, this tutorial assumes that you're familiar with:
3 steps to implement a website monitoring solution using Google Sheets and Apps ScriptStep 1 — Create a Google Sheets spreadsheet to track the website's status over time
Step 3 — Set up a time-based trigger to periodically monitor the website's status
Step 1 — Create a Google Sheets spreadsheet to track the website's status over time
Step 1 — Create a Google Sheets spreadsheet to track the website's status over time
Step 3 — Set up a time-based trigger to periodically monitor the website's status
Create a Google Sheets spreadsheet to track your website's status over time.
Did you know?
The URL https://spreadsheet.new will create a new Google Sheets spreadsheet?
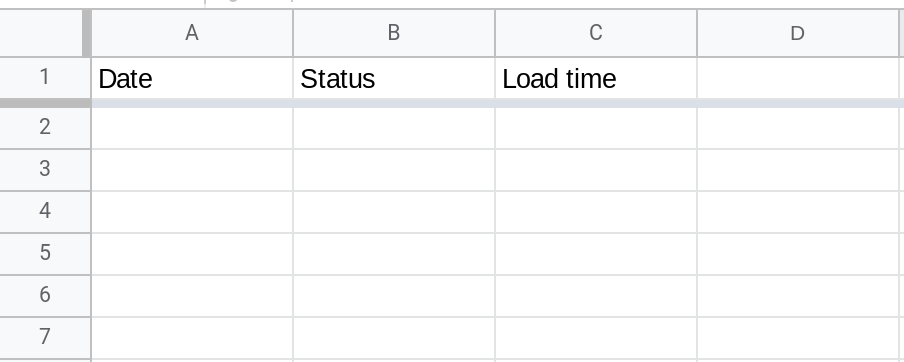
The code we will write in step #2 will assume that your spreadsheet has a sheet called Data containing three columns:
Date: The date when the status of your website was checked.
Status: The status code returned by your website when the Apps Script code tried to load it.
Load time: The time taken for your website to load in milliseconds.
Step 2 — Use Apps Script to check if the website is up and record this information in your spreadsheet
The next step is to create an Apps Script function to check whether your website is up or not and record this information in your spreadsheet.
The function checkWebsiteStatus() uses UrlFetchApp to try loading your website and records the response code it receives in the spreadsheet.
It also tracks the number of milliseconds that elapsed between when it starts the UrlFetchApp call and when it receives the response code. This can be used as a proxy for how quickly your website loads. This assumes that the Apps Script code that powers the UrlFetchApp feature is stable and it does not become slower or faster over time.
Finally, if a response code other than 200 is received, an error notification is sent via email to notify someone who can investigate the potential issue further.
Do not forget to replace placeholders in the code below
Replace
<WEBSITE_URL>with the URL of your website.Replace
<EMAIL_ADDRESS>with the email address that should be notified when a HTTP response code other than 200 (success) is received.Either name the sheet in your spreadsheet
Dataor use the name of your sheet in the code below. The specific line where you need to make the change is:
SpreadsheetApp.getActive().getSheetByName("Data").appendRow([start, responseCode, loadTimeMs]);
function checkWebsiteStatus() {
  let url = "<WEBSITE_URL>";

  // Record time so we can track how long the website
  // takes to load.
  let start = new Date();
  let response = UrlFetchApp.fetch(url, {muteHttpExceptions: true});
  let end = new Date();

  let responseCode = response.getResponseCode();
  let loadTimeMs = end - start;

  // Record a log of the website's status to the spreadsheet.
  SpreadsheetApp.getActive().getSheetByName("Data").appendRow([start, responseCode, loadTimeMs]);

  // Send email notification if
  if(response.getResponseCode() != 200) {
    let email = "<EMAIL_ADDRESS>";
    let subject = "[ACTION REQUIRED] Website may be down - " + new Date();
    let body = `The URL ${url} may be down. Expected response code 200 but got ${responseCode} instead.`;
    MailApp.sendEmail(email, subject,body);
  }
}
Try running the function checkWebsiteStatus() and confirm that it is working correctly. If the function works, you should see a new row in your spreadsheet with the results of the check.

Step 3 — Set up a time-based trigger to periodically monitor the website's status
The final step is to run the function checkWebsiteStatus() periodically to monitor your website's status. To do this, we will set up a time-based trigger. The function setUpTrigger() below creates a trigger that runs the function checkWebsiteStatus() every four hours. If you want it to run more frequently, feel free to adjust the interval based on your use case.
function setUpTrigger() {
  let triggers = ScriptApp.getProjectTriggers();

  // Do not set up a duplicate trigger
  if(triggers.length > 0) {
    return;
  }

  // Set up a time based trigger to check status every
  // four hours.
  ScriptApp.newTrigger("checkWebsiteStatus")
    .timeBased()
    .everyHours(4)
    .create();
}
Run the function to set up the trigger. Once it runs, you should see the trigger it created listed on your script's triggers page (select the alarm clock symbol on the left navigation bar to open the triggers page).

You can confirm that the trigger is configured correctly by editing it (select the pencil icon to edit).
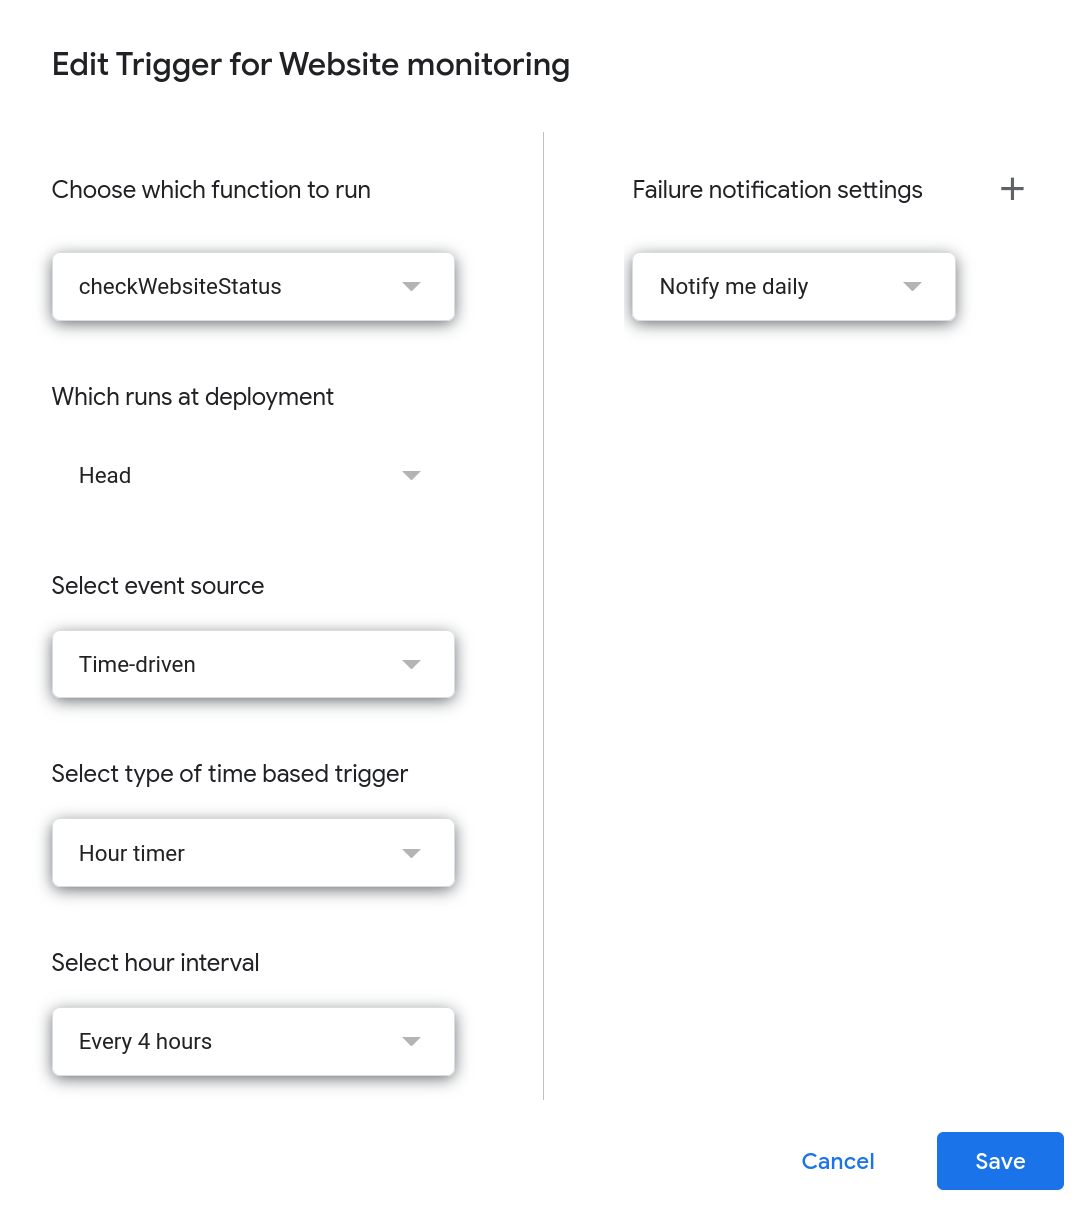
When you complete step 3, you've successfully completed this tutorial. You'll receive email notifications whenever your website doesn't return a HTTP 200 response code.
Conclusion
You learned how to implement a simple website monitoring system using Google Sheets and Apps Script. Hope you found this tutorial helpful. Thanks for reading!
Stay up to date
I'd appreciate any feedback you can give me regarding this post.
Was it useful? Are there any errors or was something confusing? Would you like me to write a post about a related topic? Any other feedback is also welcome. Thank you so much!