Navigation menu in Google Sheets
When you have a Google Sheets spreadsheet with a large number of sheets, it can become cumbersome to quickly find and open the right sheet. In the spreadsheet below, there are several sheets that are hidden from view (notice the horizontal scrollbar?). It isn't very user friendly to find sheets by scrolling horizontally, and switching back and forth between sheets can also be inconvenient.

While Google Sheets does have an "All Sheets" menu that lets you see a vertical list of all the sheets in the spreadsheet, this menu is also not organized in any way.

In this tutorial, I'm going to show you how you can build a custom navigation menu in your Google Sheets spreadsheet using Apps Script. This navigation menu will enable you to quickly find and open any sheet in your Google Sheets spreadsheet.

Prerequisites
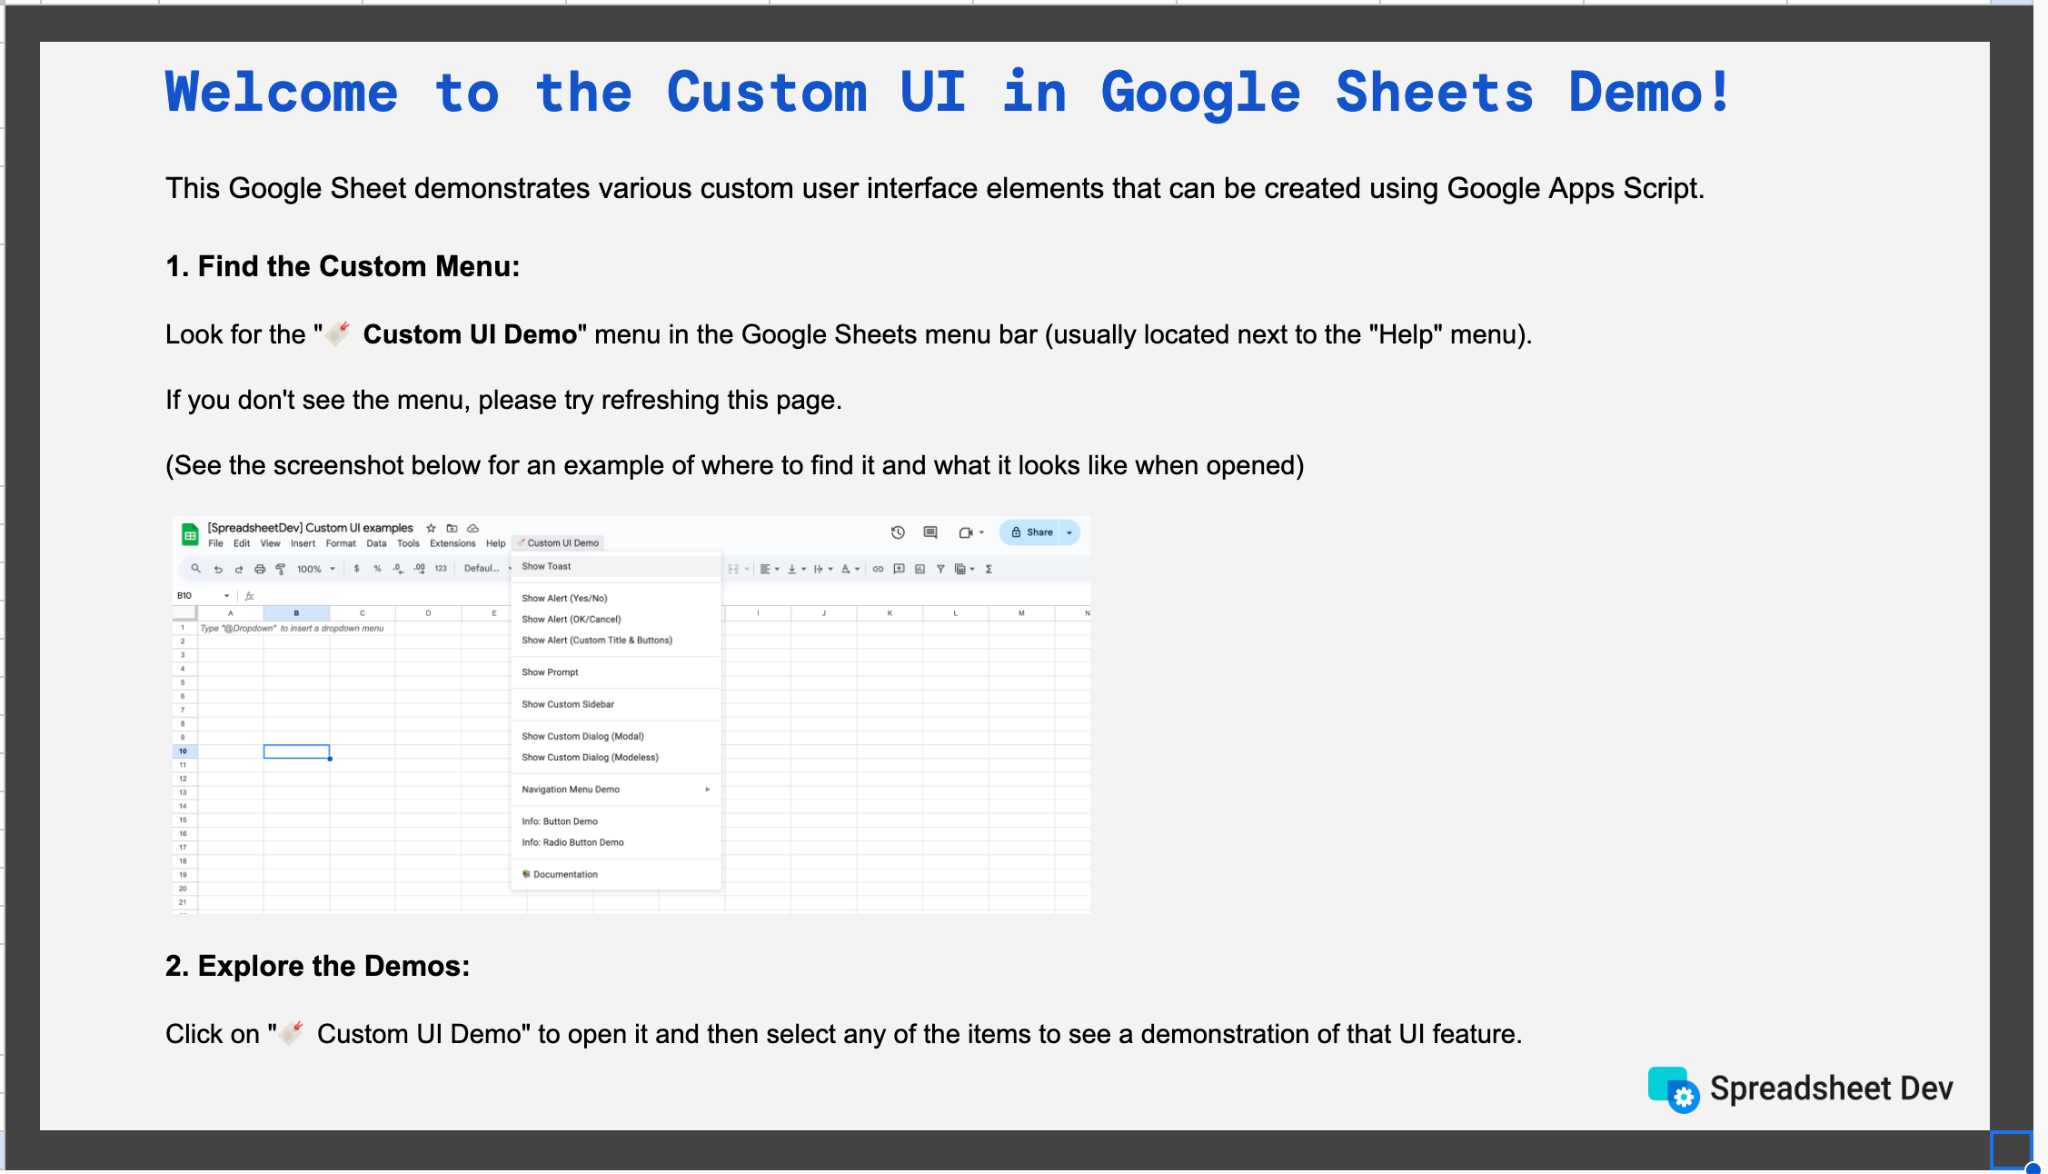
Google Sheets Custom UI Demo Template
Explore a variety of custom user interface options in Google Sheets! This template demonstrates custom menus, dialogs, sidebars, alerts, prompts, and more, all powered by Google Apps Script. A perfect way to learn and get inspired for your own projects.

Already a subscriber? Log in
To build a navigation menu, we will create a custom menu that has one menu item per sheet. Selecting this menu item will then activate the corresponding sheet using the activate() method of the Sheet object. The benefit of using a custom menu versus using the "All sheets" menu that comes in-built in Google Sheets is that you can fully customize the menu and organize the menu items using sub menus.
The code below creates a custom menu where some menu items are organized under a sub menu called "Admin". This structure makes it easy for users to find and open a sheet in the spreadsheet. They can also easily switch between sheets without having to scroll horizontally to find them. I've added comments to the code to help you understand how it works.
//@OnlyCurrentDoc

// Use a onOpen() simple trigger to create
// a custom menu.
function onOpen() {
 var adminMenu = SpreadsheetApp.getUi().createMenu("Admin")
   .addItem("HR", "hr")
   .addItem("Legal", "legal")
   .addItem("Facilities", "facilities")
   .addItem("Executive", "executive")
   .addItem("PR", "pr");
  SpreadsheetApp.getUi().createMenu("Departments")
   .addItem("Sales", "sales")
   .addItem("Marketing", "marketing")
   .addItem("Finance", "finance")
   .addItem("Engineering", "engineering")
   .addSubMenu(adminMenu)
   .addToUi();
}

// Activate the sheet named sheetName in the spreadsheet.
function setActiveSpreadsheet(sheetName) {
 SpreadsheetApp.getActive().getSheetByName(sheetName).activate();
}

// One function per menu item.
// One of these functions will be called when users select the
// corresponding menu item from the navigation menu.
// The function then activates the sheet that the user selected.

function sales() {
 setActiveSpreadsheet("Sales");
}

function marketing() {
 setActiveSpreadsheet("Marketing");
}

function finance() {
 setActiveSpreadsheet("Finance");
}

function hr() {
 setActiveSpreadsheet("HR");
}

function engineering() {
 setActiveSpreadsheet("Engineering");
}

function legal() {
 setActiveSpreadsheet("Legal");
}

function facilities() {
 setActiveSpreadsheet("Facilities");
}

function executive() {
 setActiveSpreadsheet("Executive");
}

function pr() {
 setActiveSpreadsheet("PR");
}
Here is a video of the navigation menu in action:
As you can see in the video, a navigation menu makes it easy for users to find and open the right sheet in a Google Sheets spreadsheet. It's especially useful when your Google Sheets spreadsheet has several sheets, thereby making it hard to switch between sheets.
Hope you found this tutorial helpful and thanks for reading!
DISCLAIMER: This content is provided for educational purposes only. All code, templates, and information should be thoroughly reviewed and tested before use. Use at your own risk. Full Terms of Service apply.
Thanks for your feedback!
Your input helps improve the content for everyone.

