Inline images in emails using MailApp in Apps Script
In this tutorial, I will show you how to send emails with inline images (i.e. embedded images) using MailApp in Apps Script.
Here is an example of an email where I've embedded a mock logo in the email body itself:

Note
This is different from attaching images to emails. If you want to send email attachments, please refer to this other tutorial instead.
Prerequisites
This tutorial assumes that you're familiar with the following concepts:
Also, if you're new to coding with Apps Script, please refer to my tutorial on learning to code using Google Sheets and Apps Script.
How to embed inline images in emails sent using Apps Script?
First of all, if you want to inline images in your email body, you must send a HTML email. You can't embed images in plain text emails. You can, however, attach images to both HTML and plain text emails.
To embed an inline image, your HTML code must specify a placeholder for the image. Then you must supply the image to be inserted into that placeholder when you send the email.
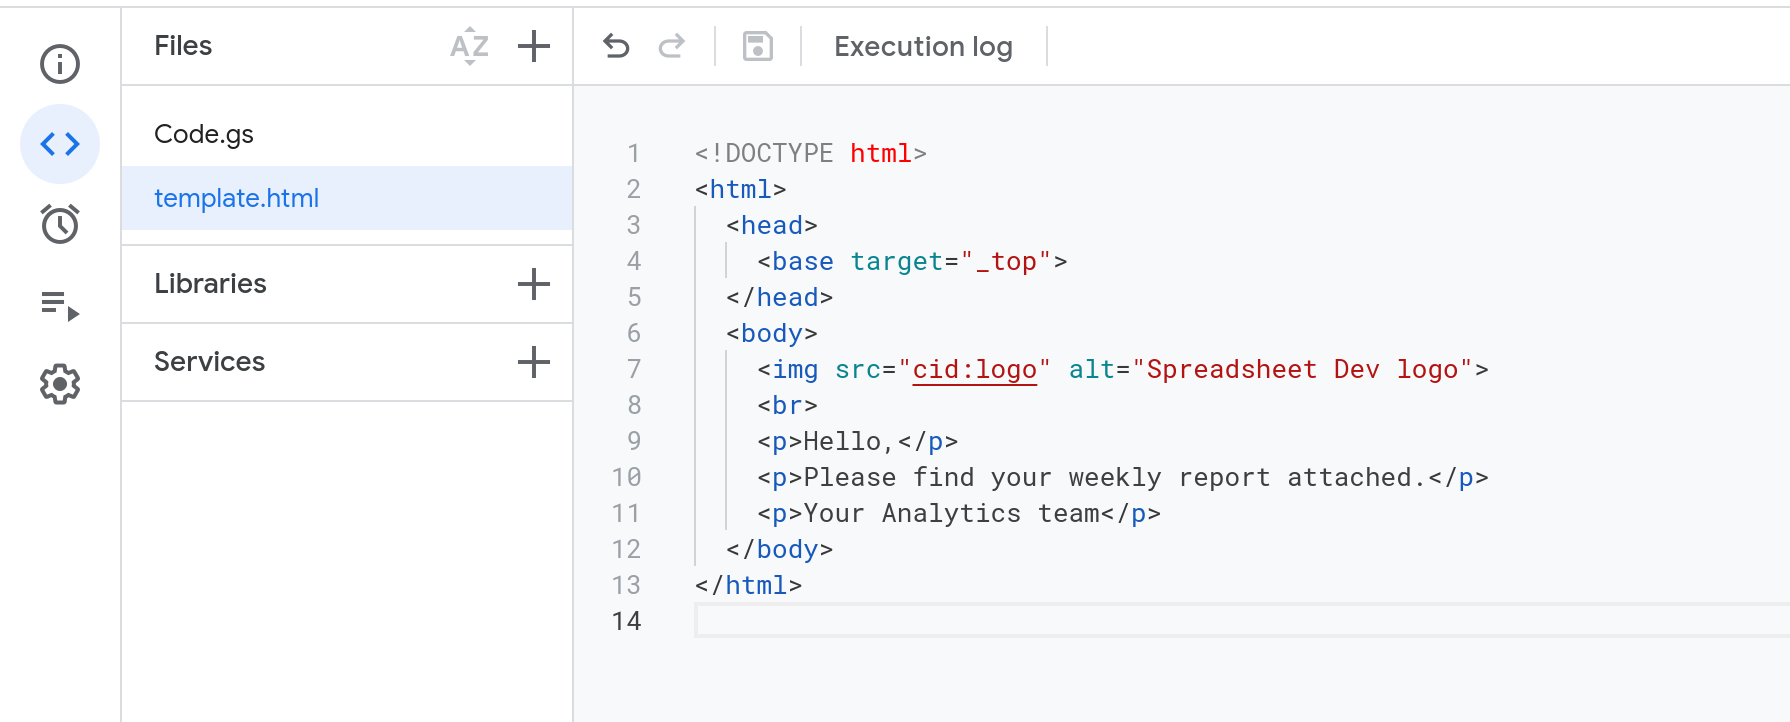
To specify the placeholder for your image, the src attribute of the image must be set to cid:<some-unique-id>. Here <some-unique-id> is a unique identifier for every inline image in your email. For example, the HTML below specifies a placeholder for a single image that has logo as its unique identifier.
<!DOCTYPE html>
<html>
  <head>
    <base target="_top">
  </head>
  <body>
    <img src="cid:logo" alt="Spreadsheet Dev logo">
    <br>
    <p>Hello,</p>
    <p>Please find your weekly report attached.</p>
    <p>Your Analytics team</p>
  </body>
</html>
Note
The script in this tutorial uses two files:
template.html: Contains the HTML code for the email body.
Code.gs: Contains Apps Script code to send the email.

Then, when you're sending the email, you must specify an image for every placeholder. You do this by creating an object that specifies the image corresponding to each placeholder.
In the code below, the object emailImages specifies the image corresponding to the placeholder logo. Then, while sending the email, this object is included as the value of a property called inlineImages in MailApp's email configuration.
function sendEmail() {
  let image = DriveApp.getFileById("<DRIVE_FILE_ID>").getAs("image/png");
  let emailImages = {"logo": image};
  let emailBody = HtmlService.createTemplateFromFile("template").evaluate().getContent();
  MailApp.sendEmail({
    to: "<EMAIL_ADDRESS>",
    subject: "Daily analytics report",
    htmlBody: emailBody,
    inlineImages: emailImages
  });
}
Note
If your HTML template file is not named template.html, please replace template with the correct name in the line below.
let emailBody = HtmlService.createTemplateFromFile("template").evaluate().getContent();Note
Please remember to replace <DRIVE_FILE_ID> with the actual ID of your image file in Google Drive. Also replace <EMAIL_ADDRESS> with the email address of the recipient. You can also embed images that are hosted at a URL by extending the relevant section from the UrlFetchApp tutorial.
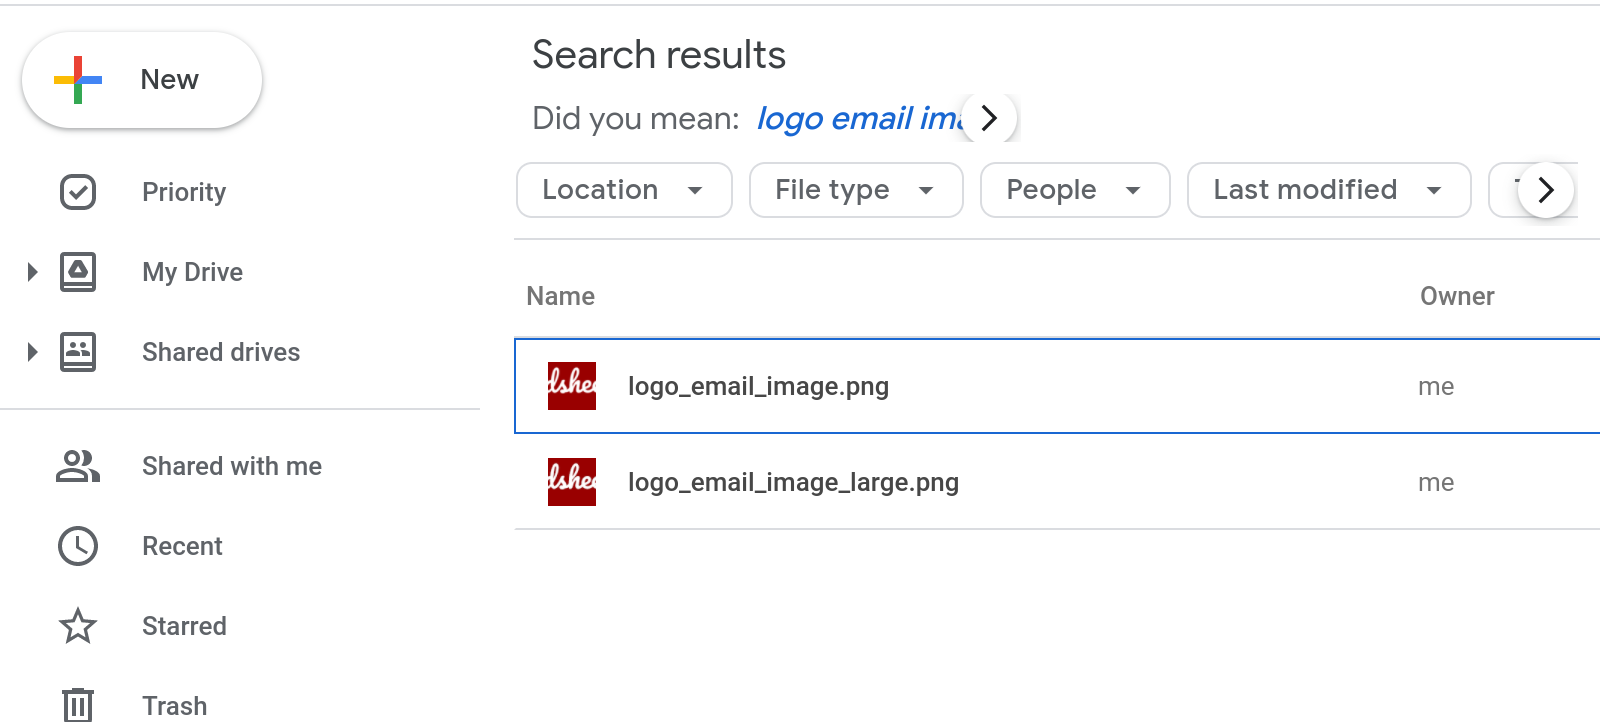
This tutorial also assumes that the images you want to embed in your email have been uploaded to your Google Drive. For example, I've uploaded the mock logo to my Drive.

When you run the sendEmail() function, the script will send an email containing inline images.
Conclusion
In this tutorial, I showed you how to send an email containing inline images using Apps Script. Hope this tutorial was helpful!
Thank you for reading!
How was this tutorial?
Your feedback helps me create better content
DISCLAIMER: This content is provided for educational purposes only. All code, templates, and information should be thoroughly reviewed and tested before use. Use at your own risk. Full Terms of Service apply.
Small Scripts, Big Impact
Join 1,500+ professionals who are supercharging their productivity with Google Sheets™ automation
By subscribing, you agree to our Privacy Policy and Terms of Service

