Custom sidebar in Google Sheets
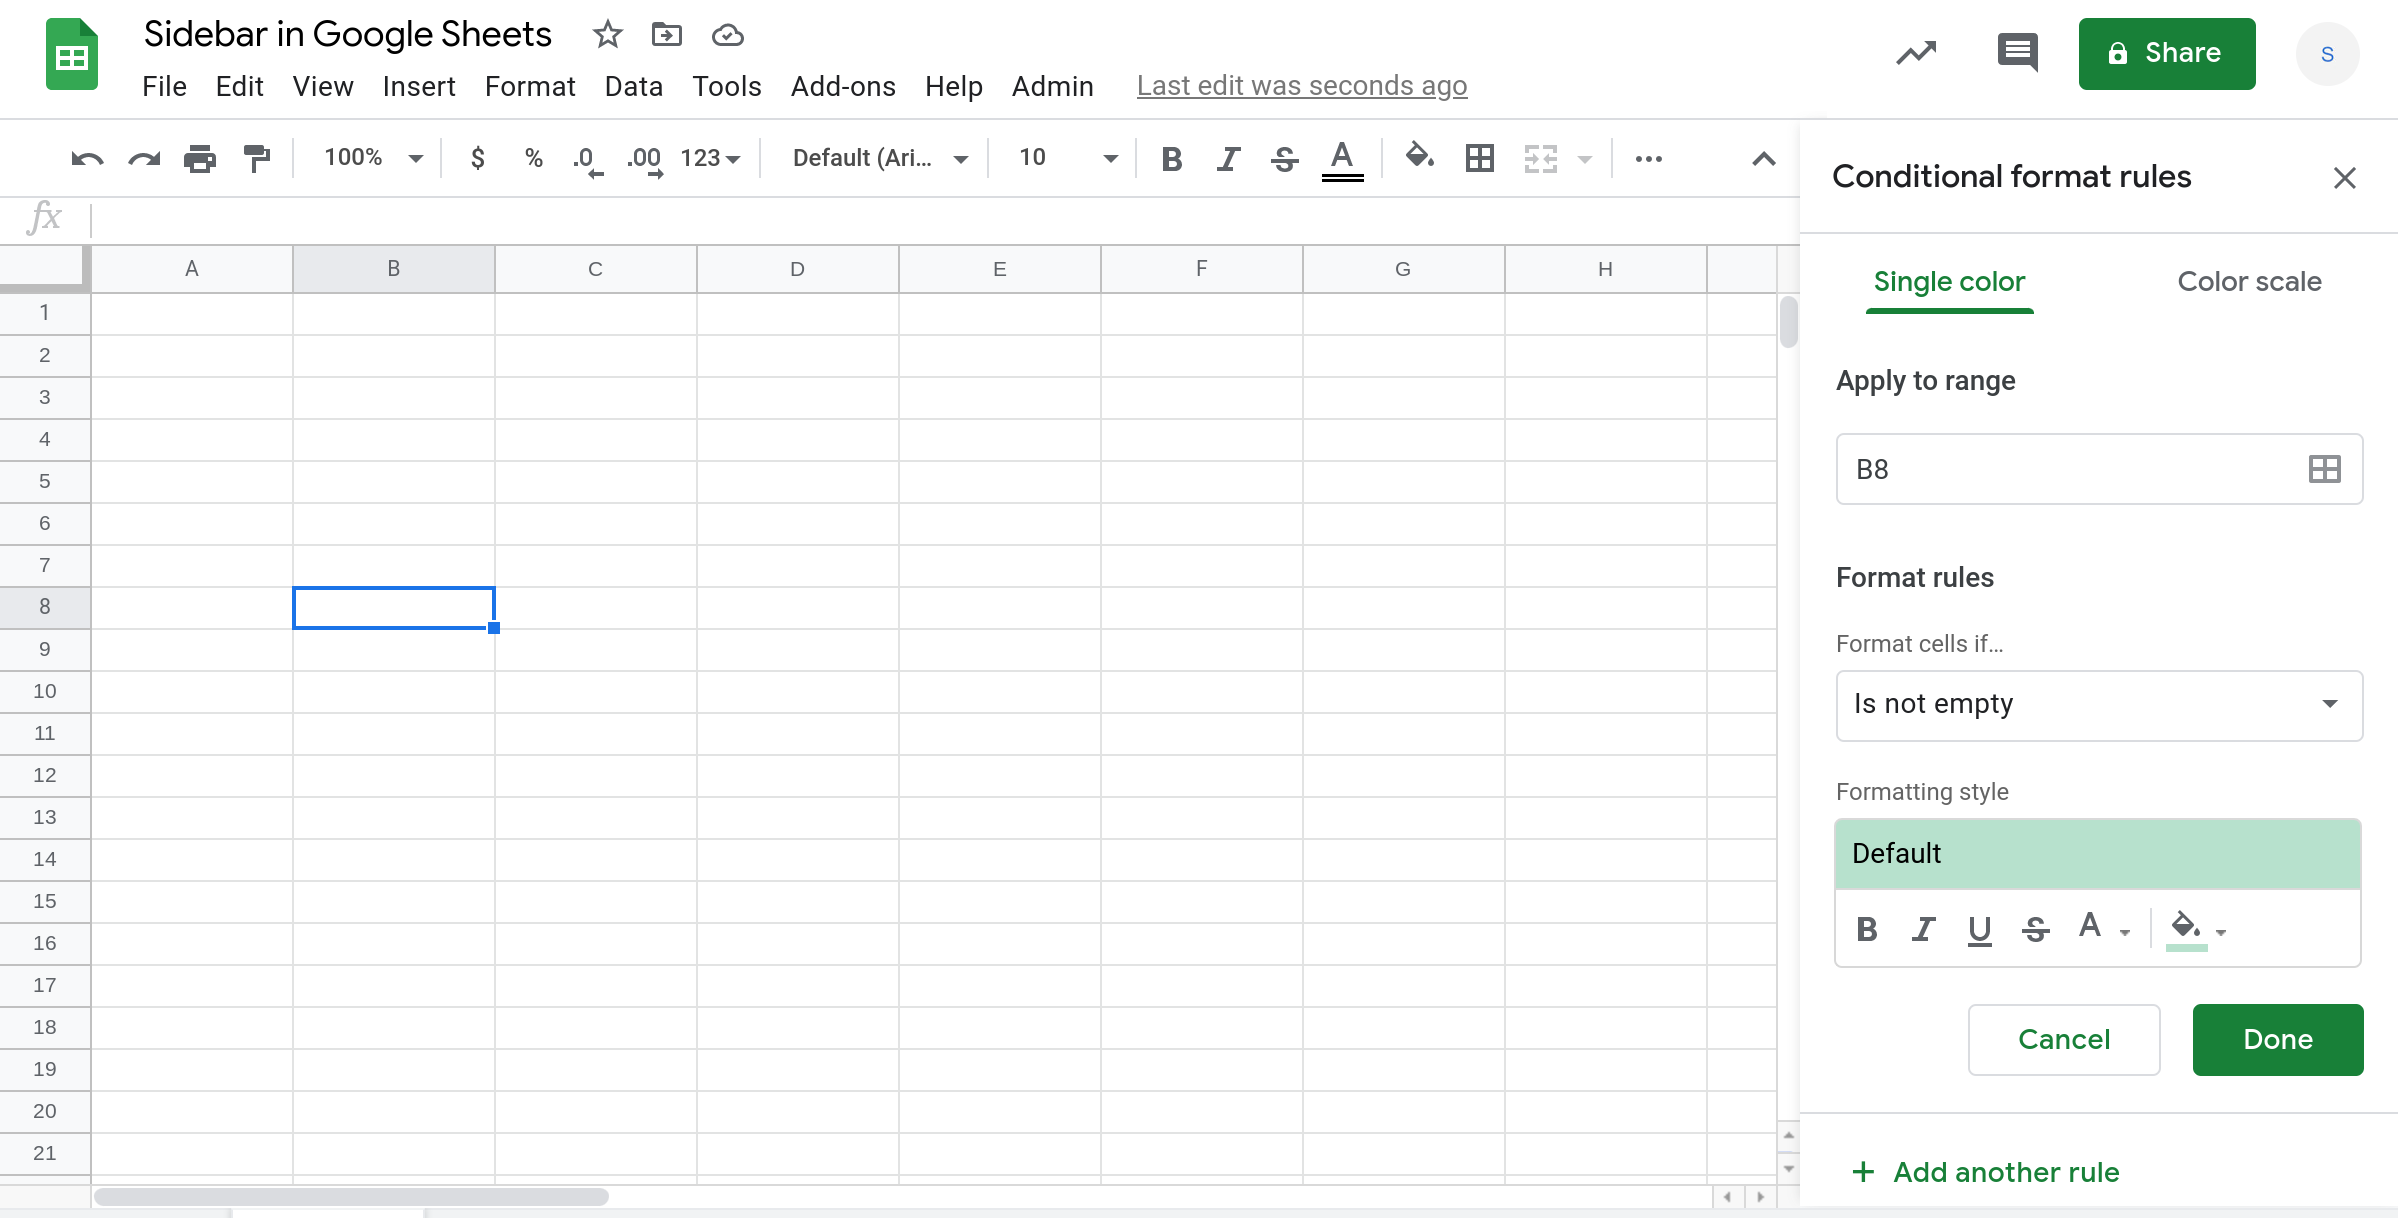
A Sidebar is a UI widget that appears on the right hand side of Google Sheets. If you have added conditional formatting to your Google Sheets spreadsheet, you've seen sidebars in action.
You can build your own custom sidebars using Apps Script. These custom sidebars essentially enable you to build your own user interfaces within Google Sheets and this can be very powerful. Here are a few examples of use cases for custom sidebars in Google Sheets:
You can build custom data entry forms or calculators using HTML, JavaScript and CSS and display them in a sidebar.
You can create a custom advanced formatting menu for your spreadsheet.
You can integrate your spreadsheet with other applications using APIs (application programming interfaces). For example, you can query an external database and display this information in the sidebar.
etc.
In this tutorial, I will show you how to create and use custom sidebars in Google Sheets using Google Apps Script.
Prerequisites
This tutorial assumes that you're familiar with the following concepts:
Basic coding concepts and the basics of coding using Google Apps Script
Familiarity with basic HTML, CSS and JavaScript
Familiarity with Google Forms
Google Sheets Custom UI Demo Template
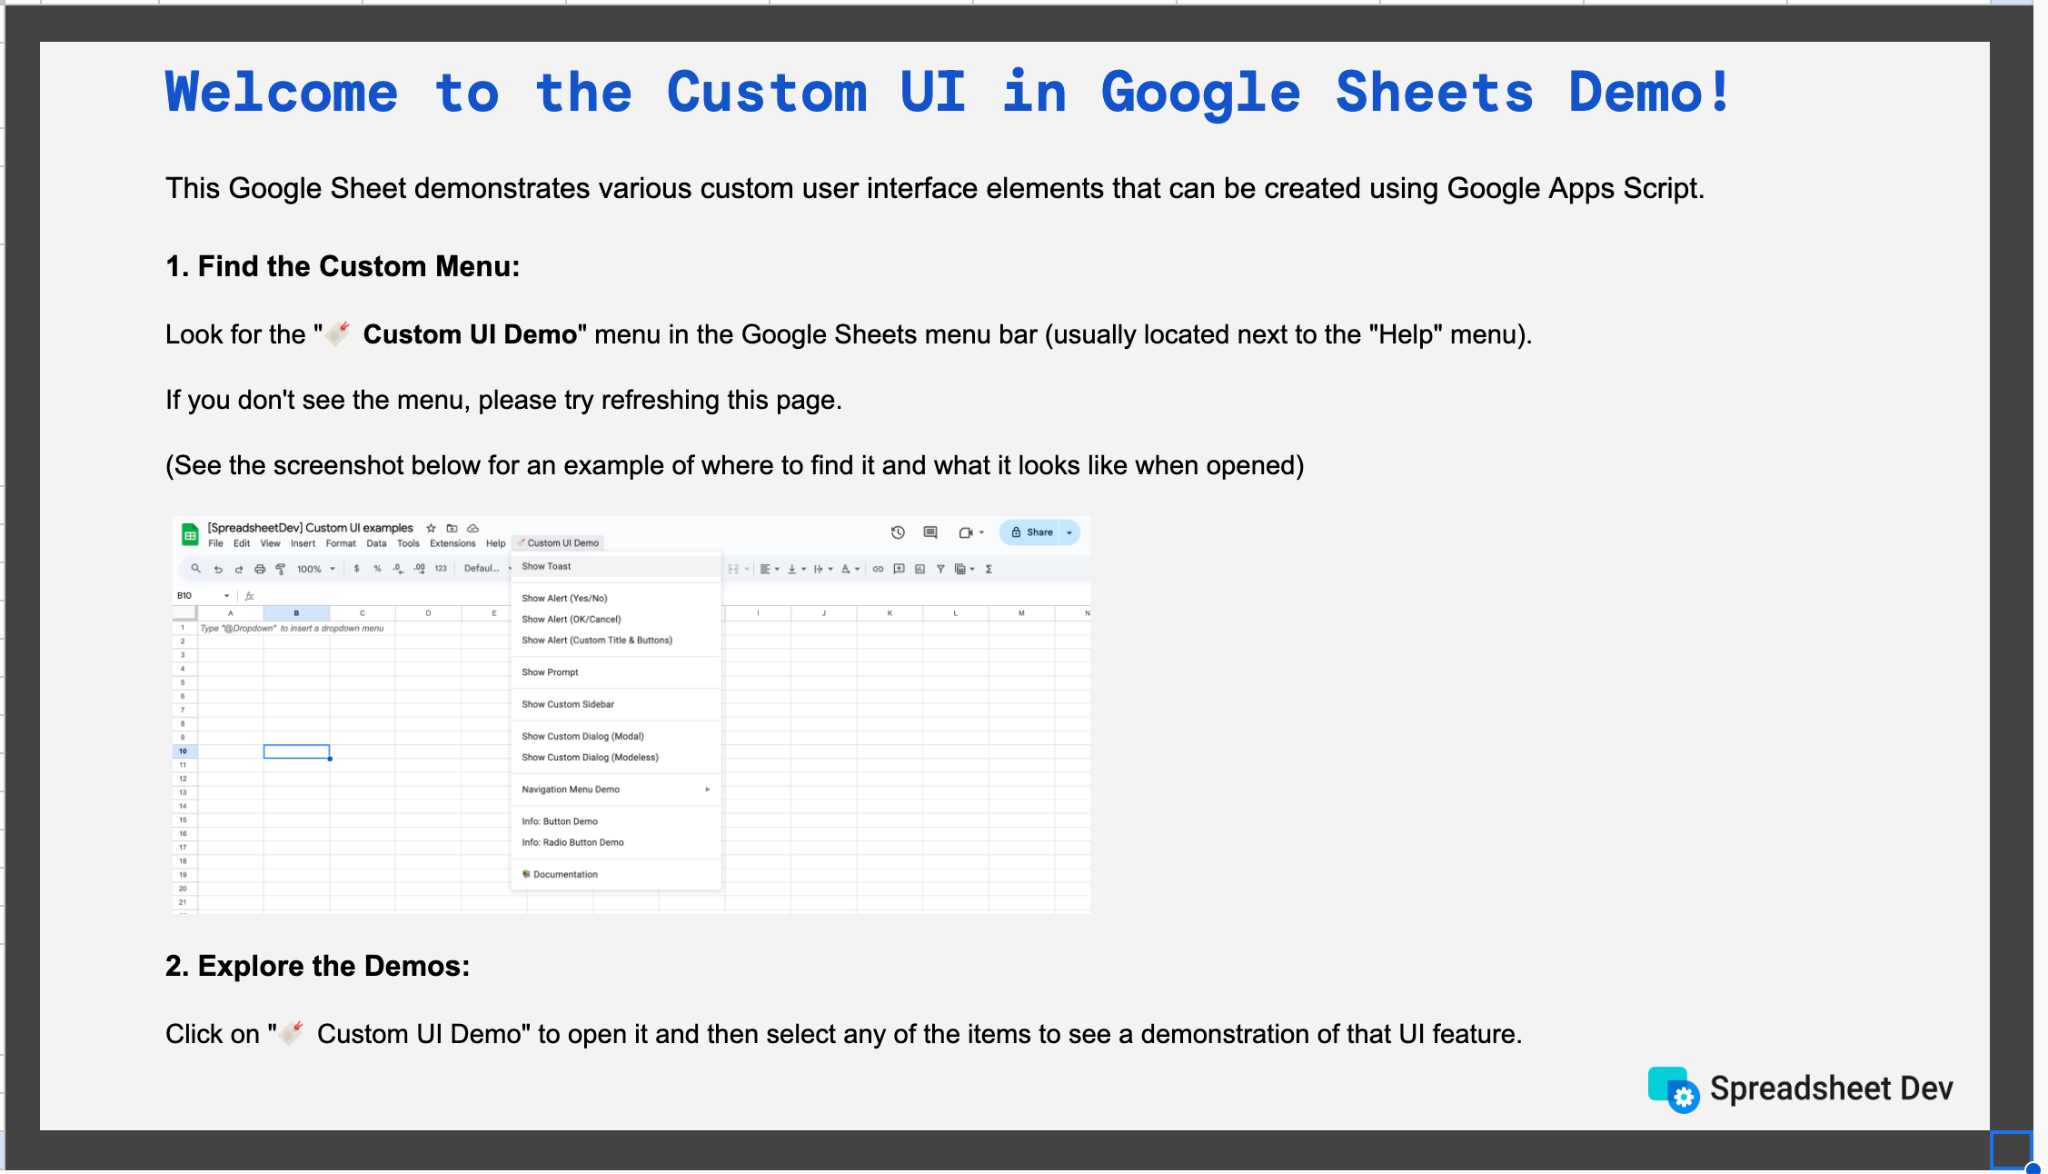
Explore a variety of custom user interface options in Google Sheets! This template demonstrates custom menus, dialogs, sidebars, alerts, prompts, and more, all powered by Google Apps Script. A perfect way to learn and get inspired for your own projects.
Already a subscriber? Log in
What will you learn in this tutorial?
In this tutorial, you will learn how to:
Use CSS and JavaScript to build custom user interfaces within a sidebar in Google Sheets
Close the sidebar manually or programmatically using Apps Script
Build data entry forms within custom sidebars in Google Sheets using Apps Script
Embed a Google Form within a custom sidebar in Google Sheets using Apps Script
Create a custom sidebar in Google Sheets using Apps Script
To create a custom sidebar, you need to write and run some Apps Script code. Custom sidebar widgets are built using HTML, CSS and Javascript.
The user must authorize creating the sidebar since this step involves running custom third-party code (i.e., code that was not written by Google). Therefore, you cannot automatically display a sidebar. Instead, you can only display sidebars when users take some action like clicking on a custom button or selecting a menu item from a custom menu.
This is actually pretty simple to do. In this tutorial we will create a custom sidebar that is displayed when users select a menu item from a custom menu.
Selecting the Admin page menu item will display a custom sidebar.

The code to create the above sidebar is pretty simple. First, we use an onOpen trigger that will create a custom custom menu called Admin. This menu has a single menu item called Admin page. When users select this menu item, the function showAdminSidebar() will be run and the sidebar will be displayed. When you select the Admin page menu item the first time, Google will ask you to authorize displaying custom widgets within Google Sheets. Once you authorize it, the sidebar will be displayed (sometimes you may need to select the menu item once again for the sidebar to be displayed).
//@OnlyCurrentDoc
function onOpen() {
SpreadsheetApp
.getUi()
.createMenu("Admin")
.addItem("Admin page", "showAdminSidebar")
.addToUi();
}
function showAdminSidebar() {
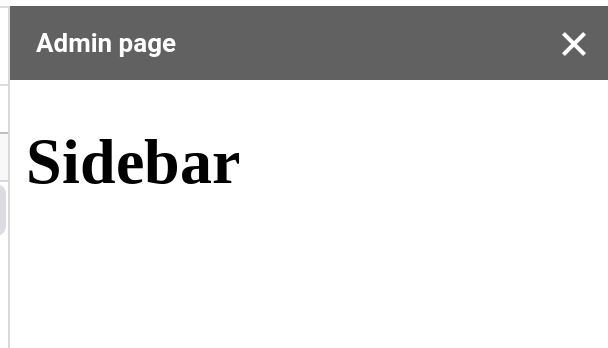
var widget = HtmlService.createHtmlOutput("<h1>Sidebar</h1>");
SpreadsheetApp.getUi().showSidebar(widget);
}The showAdminSidebar() function is also very simple. The first line creates an HTML widget and the second line displays the sidebar with this widget. The HTML in this example is very simple but you can use advanced HTML and CSS too.
Note
The line //@OnlyCurrentDoc tells Apps Script that your code should only have access to the current spreadsheet. Without this line, Apps Script will assume that your code needs access to all of your files in Google Drive.
Setting a custom title for the sidebar in Google Sheets
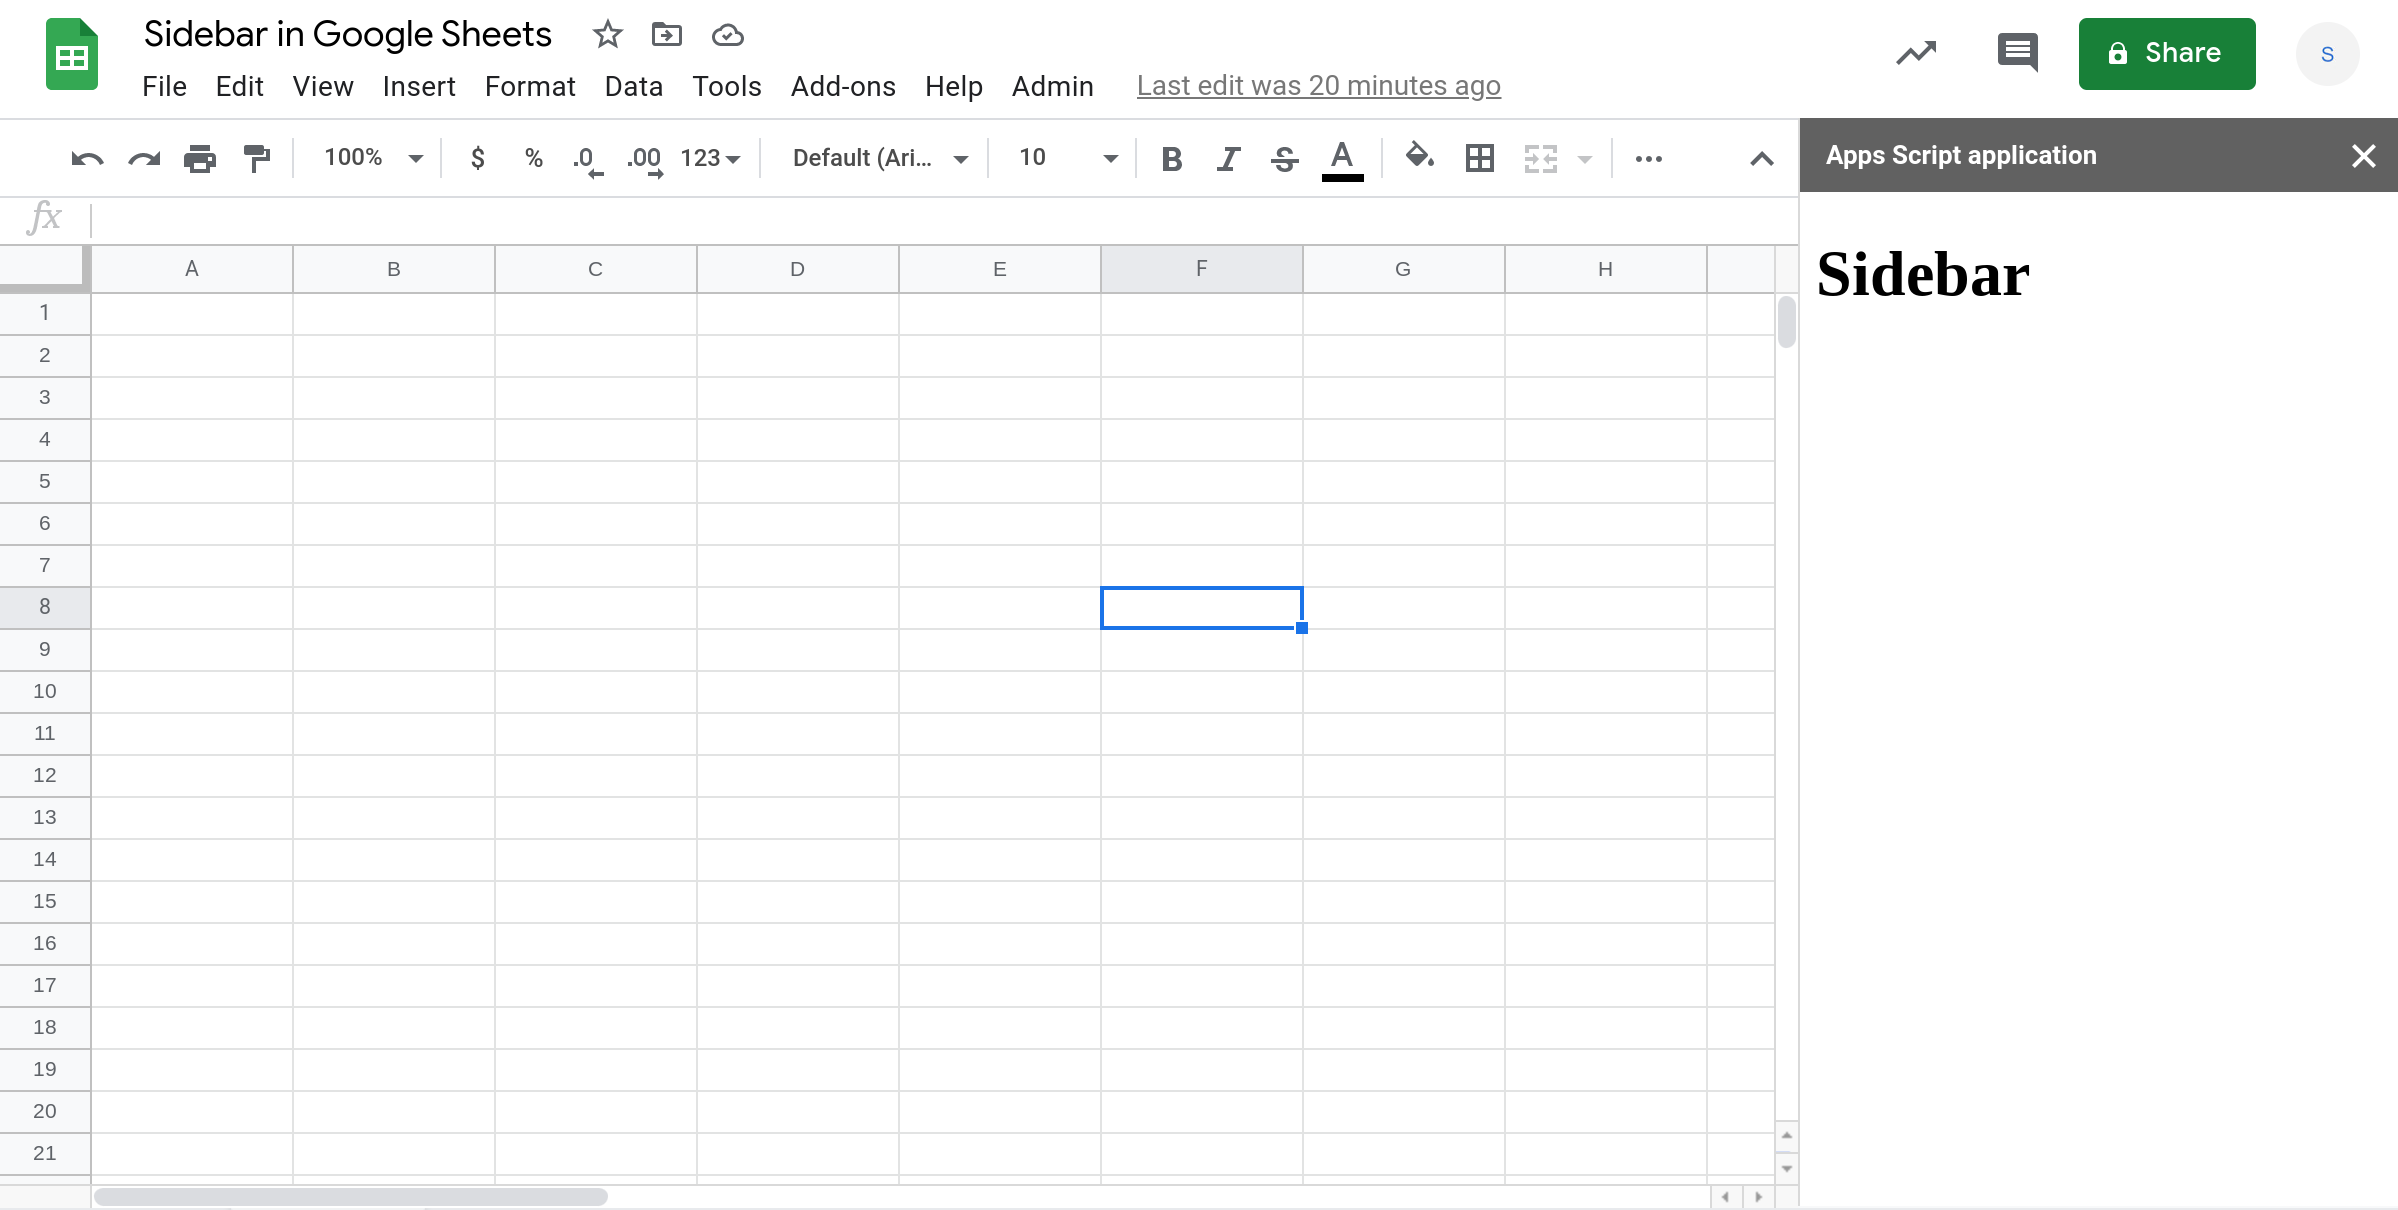
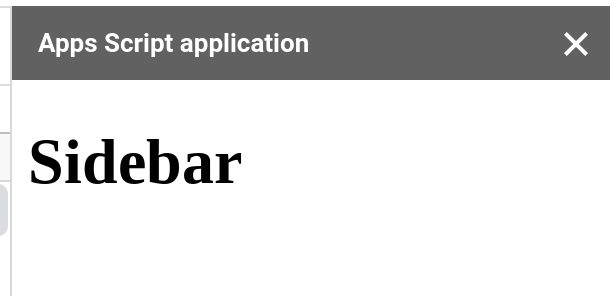
By default, custom sidebars will have the generic title "Apps Script application".
To change the title, you need to set the title of the HTML widget.
var widget = HtmlService.createHtmlOutput("<h1>Sidebar</h1>");
widget.setTitle("Admin page");
The showAdminSidebar() function after making the change to set a custom looks like this:
function showAdminSidebar() {
 var widget = HtmlService.createHtmlOutput("<h1>Sidebar</h1>");
 widget.setTitle("Admin page");
 SpreadsheetApp.getUi().showSidebar(widget);
}
When you close and reopen the sidebar, you'll see the new title "Admin page" displayed.
Create a custom sidebar in Google Sheets using a HTML file
While you can create sidebars using the HtmlService.createHtmlOutput() function, it can be cumbersome to do so especially if your HTML code isn't small.
A better way to do this is by creating a HTML file in the Apps Script editor and then using this file to create the sidebar.
The first step is to create a HTML file. I'm going to name the file Adminpage.
Note
When naming your file do not include the ".html" in the name since this will be automatically added. If you include ".html" in the name, your file will end up as filename.html.html.
Then add the following HTML code within the <body> section of the HTML.
<input type="button" value="Reset spreadsheet" onclick="alert('Spreadsheet reset');">The above HTML code adds a button that displays a JavaScript alert message when it is clicked.
When you're done, the HTML file Adminpage.html should contain the following code:
<!DOCTYPE html>
<html>
 <head>
   <base target="_top">
 </head>
 <body>
   <input type="button" value="Reset spreadsheet" onclick="alert('Spreadsheet reset');">
 </body>
</html>
Next, you need to use this HTML file when you create the HTML widget for your sidebar. In the showAdminSidebar() function, replace:
var widget = HtmlService.createHtmlOutput("<h1>Sidebar</h1>");with:
var widget = HtmlService.createHtmlOutputFromFile("Adminpage.html");When you're done making changes, the full Apps Script code should look like:
//@OnlyCurrentDoc

function onOpen() {
 SpreadsheetApp
   .getUi()
   .createMenu("Admin")
   .addItem("Admin page", "showAdminSidebar")
   .addToUi();
}

function showAdminSidebar() {
 var widget = HtmlService.createHtmlOutputFromFile("Adminpage.html");
 widget.setTitle("Admin page");
 SpreadsheetApp.getUi().showSidebar(widget);
}
Now close and reopen the sidebar. You should see the [Reset spreadsheet] button.
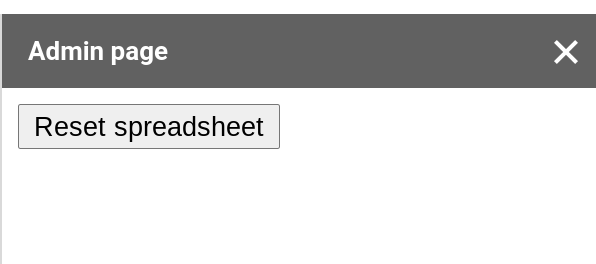
When you click the button, an alert message will appear.
Tip
If nothing happens when you click the [Reset spreadsheet] button, either your code has a bug OR the issue is that you're logged into multiple Google accounts at the same time. To find out if it is the latter issue, please open the spreadsheet in incognito mode and see if it works there.
Use CSS and JavaScript to build custom user interfaces within a sidebar in Google Sheets
Since custom sidebars in Google Sheets can be created using a regular HTML file, you can use standard web technologies like JavaScript and CSS to build rich sidebar widgets.
Here is an example of how to use JavaScript and CSS in the HTML code for a custom sidebar:
<!DOCTYPE html>
<html>
<head>
<base target="_top">
<script>
function displayAlert() {
alert('The spreadsheet was reset successfully.');
}
</script>
<style>
.button {
background-color: blue;
color: white;
padding: 10px;
border: none;
border-radius: 5px;
}
</style>
</head>
<body>
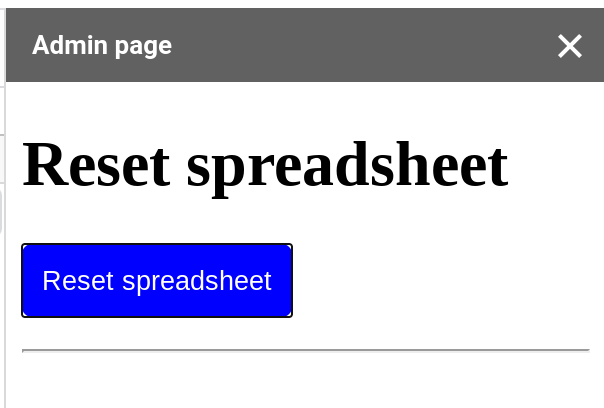
<h1>Reset spreadsheet</h1>
<p>
<input type="button" class="button" value="Reset spreadsheet" onclick="displayAlert();">
</p>
<hr>
</body>
</html>In the above HTML, we are using CSS to style the button and a JavaScript function called displayAlert() that is called whenever users click the [Reset spreadsheet] button on the sidebar.
Close the sidebar or programmatically using Apps Script
There are two ways to close the sidebar.
The user can manually close the sidebar by clicking X.
The sidebar can close itself programmatically.
To close the sidebar programmatically, use the google.script.host.close() JavaScript method from the sidebar's HTML code.
<!DOCTYPE html>
<html>
 <head>
   <base target="_top">
 </head>
 <body>
   <input type="button" class="button" value="Close sidebar" onclick="google.script.host.close();">
 </body>
</html>Run Apps Script functions from the sidebar
It is also possible to run other Apps Script functions from the sidebar by using the google.script.run API from the sidebar's HTML file.
As an example, let us create a simple Apps Script function called displayToast() that will display a toast message.
function displayToast() {
  SpreadsheetApp.getActive().toast("Hi there!");
}
Then, call this function from the sidebar HTML code using JavaScript. Notice that the onclick attribute of the button calls google.script.run.displayToast().
<!DOCTYPE html>
<html>
 <head>
   <base target="_top">
 </head>
 <body>
   <input type="button" class="button" value="Display toast" onclick="google.script.run.displayToast();">
 </body>
</html>Pass data from the sidebar to your Apps Script function
You can also pass data from the sidebar to an Apps Script function. Below is an example of how to do this. The HTML file has a text box where you can enter your name and this value is passed to the displayToast() Apps Script function that displays a Toast message using the name that you entered.
Here is the code for the HTML file:
<!DOCTYPE html>
<html>
<head>
  <base target="_top">
</head>
<script>
 function displayToast() {
   var name = document.getElementById('name').value;
   google.script.run.displayToast(name);
 }
</script>
<body>
  What is your name?
  <input type="text" id="name">
  <br>
  <input type="button" class="button" value="Display toast" onclick="displayToast();">
</body>
</html>
The displayToast() JavaScript function in the above HTML file runs the displayToast() Apps Script function (below) and passes the name value to it. The Apps Script function then displays a Toast message with this name.
function displayToast(name) {
 SpreadsheetApp.getActive().toast("Hi " + name + "!");
}Build data entry forms within custom sidebars in Google Sheets using Apps Script
A common use case for custom sidebars in Google Sheets is making it easier to enter data into the spreadsheet with custom validation logic. Maintaining the consistency and quality of data in spreadsheets over time is hard to do. However, at the same time, this is critical since otherwise you might be making incorrect decisions. Poor decisions result from incorrect input data.
One way to increase the quality of data in spreadsheets, especially if this data will be entered manually from printouts or other physical media, is using a custom form to facilitate data entry.
Using a form to enter data has several benefits. You can add custom validation rules to catch errors during data entry and you can also build some automation to increase the efficiency of data entry. For example, you can intelligently pre-fill some fields based on the data being entered into other fields in the form.
Since sidebars support custom HTML, CSS and JavaScript code, you can also build custom data entry forms as a sidebar widget in Google Sheets.
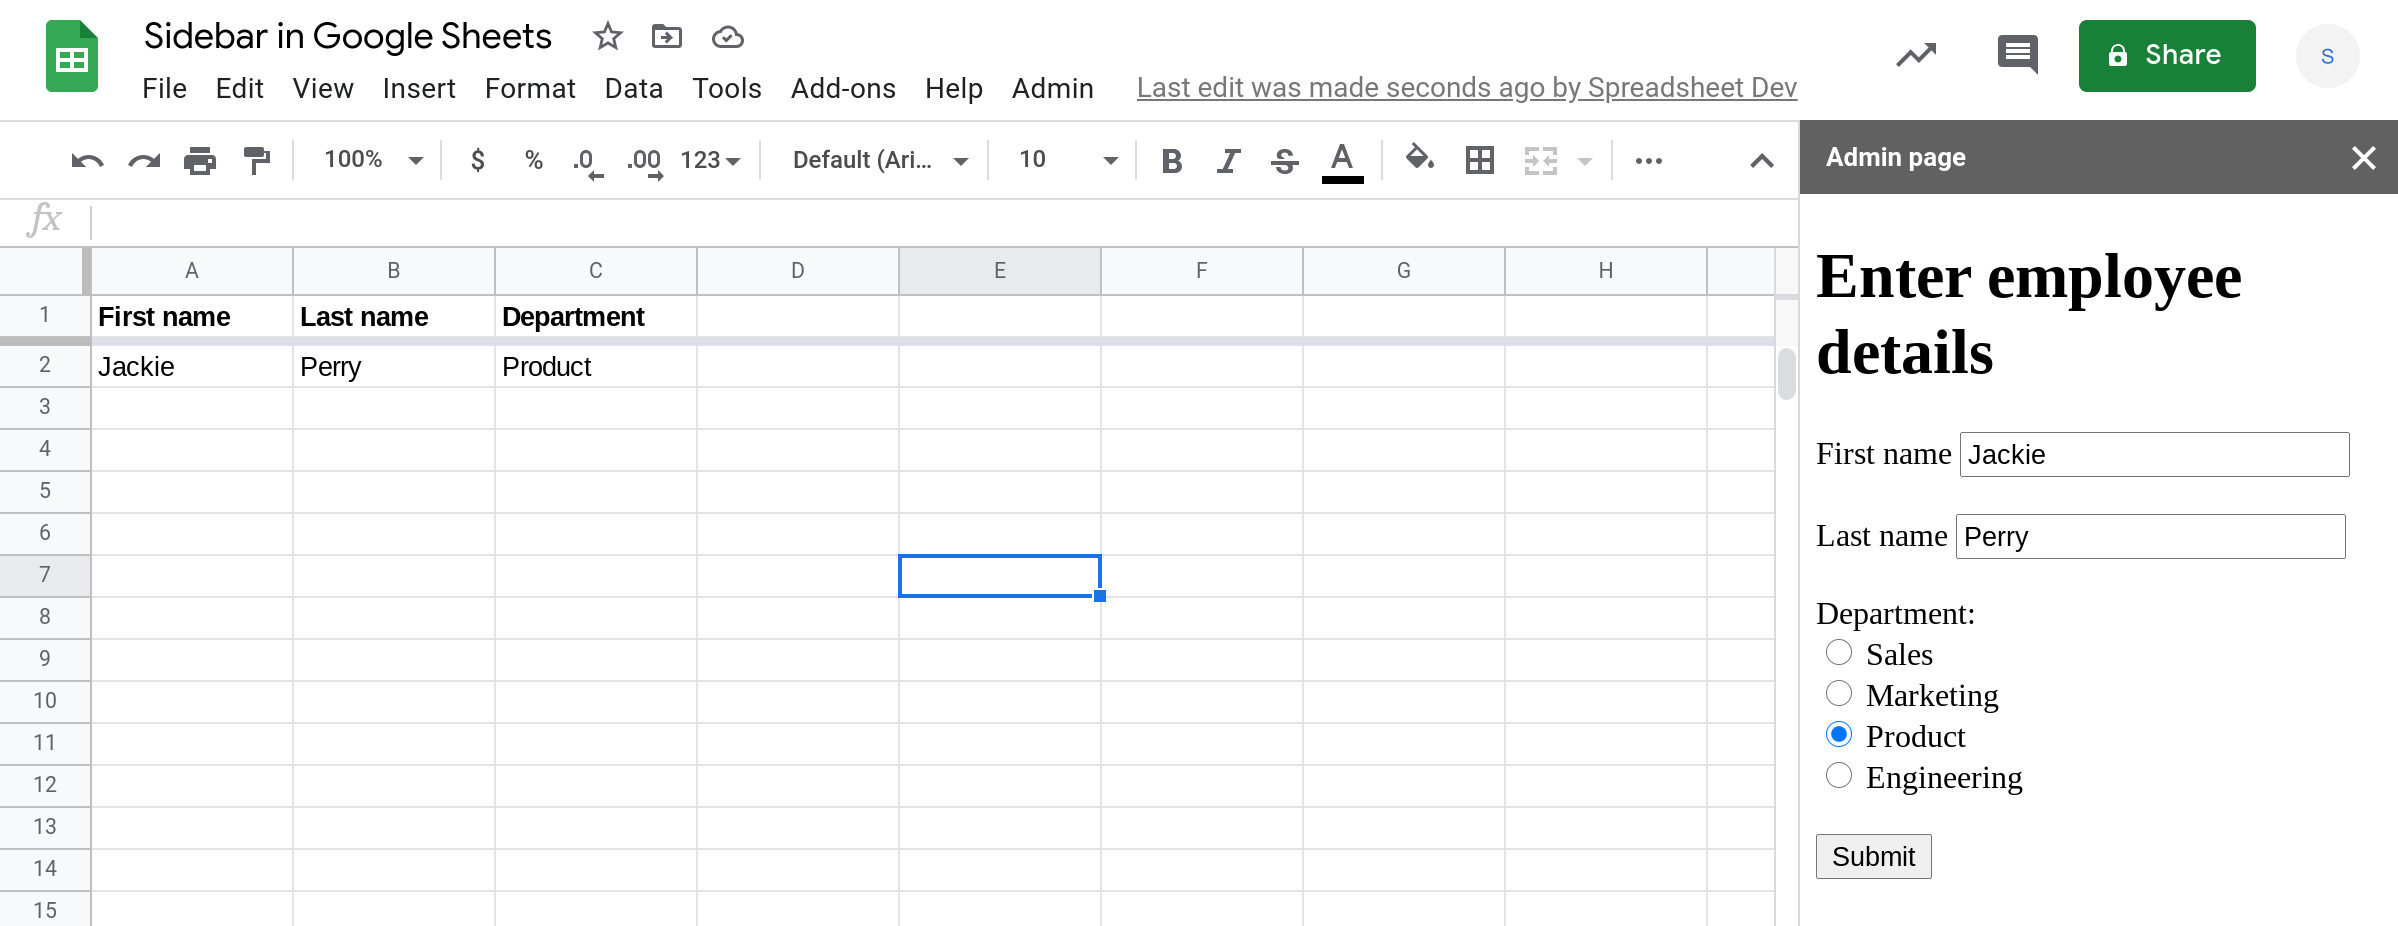
Below is the HTML code for a simple form that lets users enter some basic information about employees. The form has two text fields for first and last name and a radio button group for the employee's department.
<!DOCTYPE html>
<html>
 <head>
   <base target="_top">
   <script>
     function submitForm() {
       google.script.run.appendRowFromFormSubmit(document.getElementById("employeeForm"));
     }
   </script>
 </head>
 <body>
   <h1>Enter employee details</h1>
   <form id="employeeForm">
     <label for="firstName">First name</label>
     <input type="text" id="firstName" name="firstName"><br><br>
     <label for="lastName">Last name</label>
     <input type="text" id="lastName" name="lastName"><br><br>
     <div>
       <label for="department">Department:</label><br>
       <input type="radio" id="sales" name="department" value="Sales">
       <label for="sales">Sales</label><br>
       <input type="radio" id="marketing" name="department" value="Marketing">
       <label for="marketing">Marketing</label><br>
       <input type="radio" id="product" name="department" value="Product">
       <label for="product">Product</label><br>
       <input type="radio" id="engineering" name="department" value="Engineering">
       <label for="engineering">Engineering</label><br><br>
       <input type="button" value="Submit" onclick="submitForm();">
   </form>
 </body>
</html>
When you click [Submit] the JavaScript function submitForm() is called and this in turn runs the Apps Script function appendRowFromFormSubmit() and passes the form object to it.
The appendRowFromFormSubmit() then appends a row to the spreadsheet with the information entered in the form.
function appendRowFromFormSubmit(form) {
 var row = [form.firstName, form.lastName, form.department];
 SpreadsheetApp.getActiveSheet().appendRow(row);
}
The full Apps Script code for this example is:
//@OnlyCurrentDoc

function onOpen() {
 SpreadsheetApp
   .getUi()
   .createMenu("Admin")
   .addItem("Admin page", "showAdminSidebar")
   .addToUi();
}

function showAdminSidebar() {
 var widget = HtmlService.createHtmlOutputFromFile("Form.html");
 widget.setTitle("Admin page");
 SpreadsheetApp.getUi().showSidebar(widget);
}

function appendRowFromFormSubmit(form) {
 var row = [form.firstName, form.lastName, form.department];
 SpreadsheetApp.getActiveSheet().appendRow(row);
}
Note
The above code assumes that the HTML code for the form is in a HTML file called Form.html.
Here is a video that shows the custom form in a sidebar in Google Sheets. This can be a simple and effective way to streamline data entry processes at your organization.
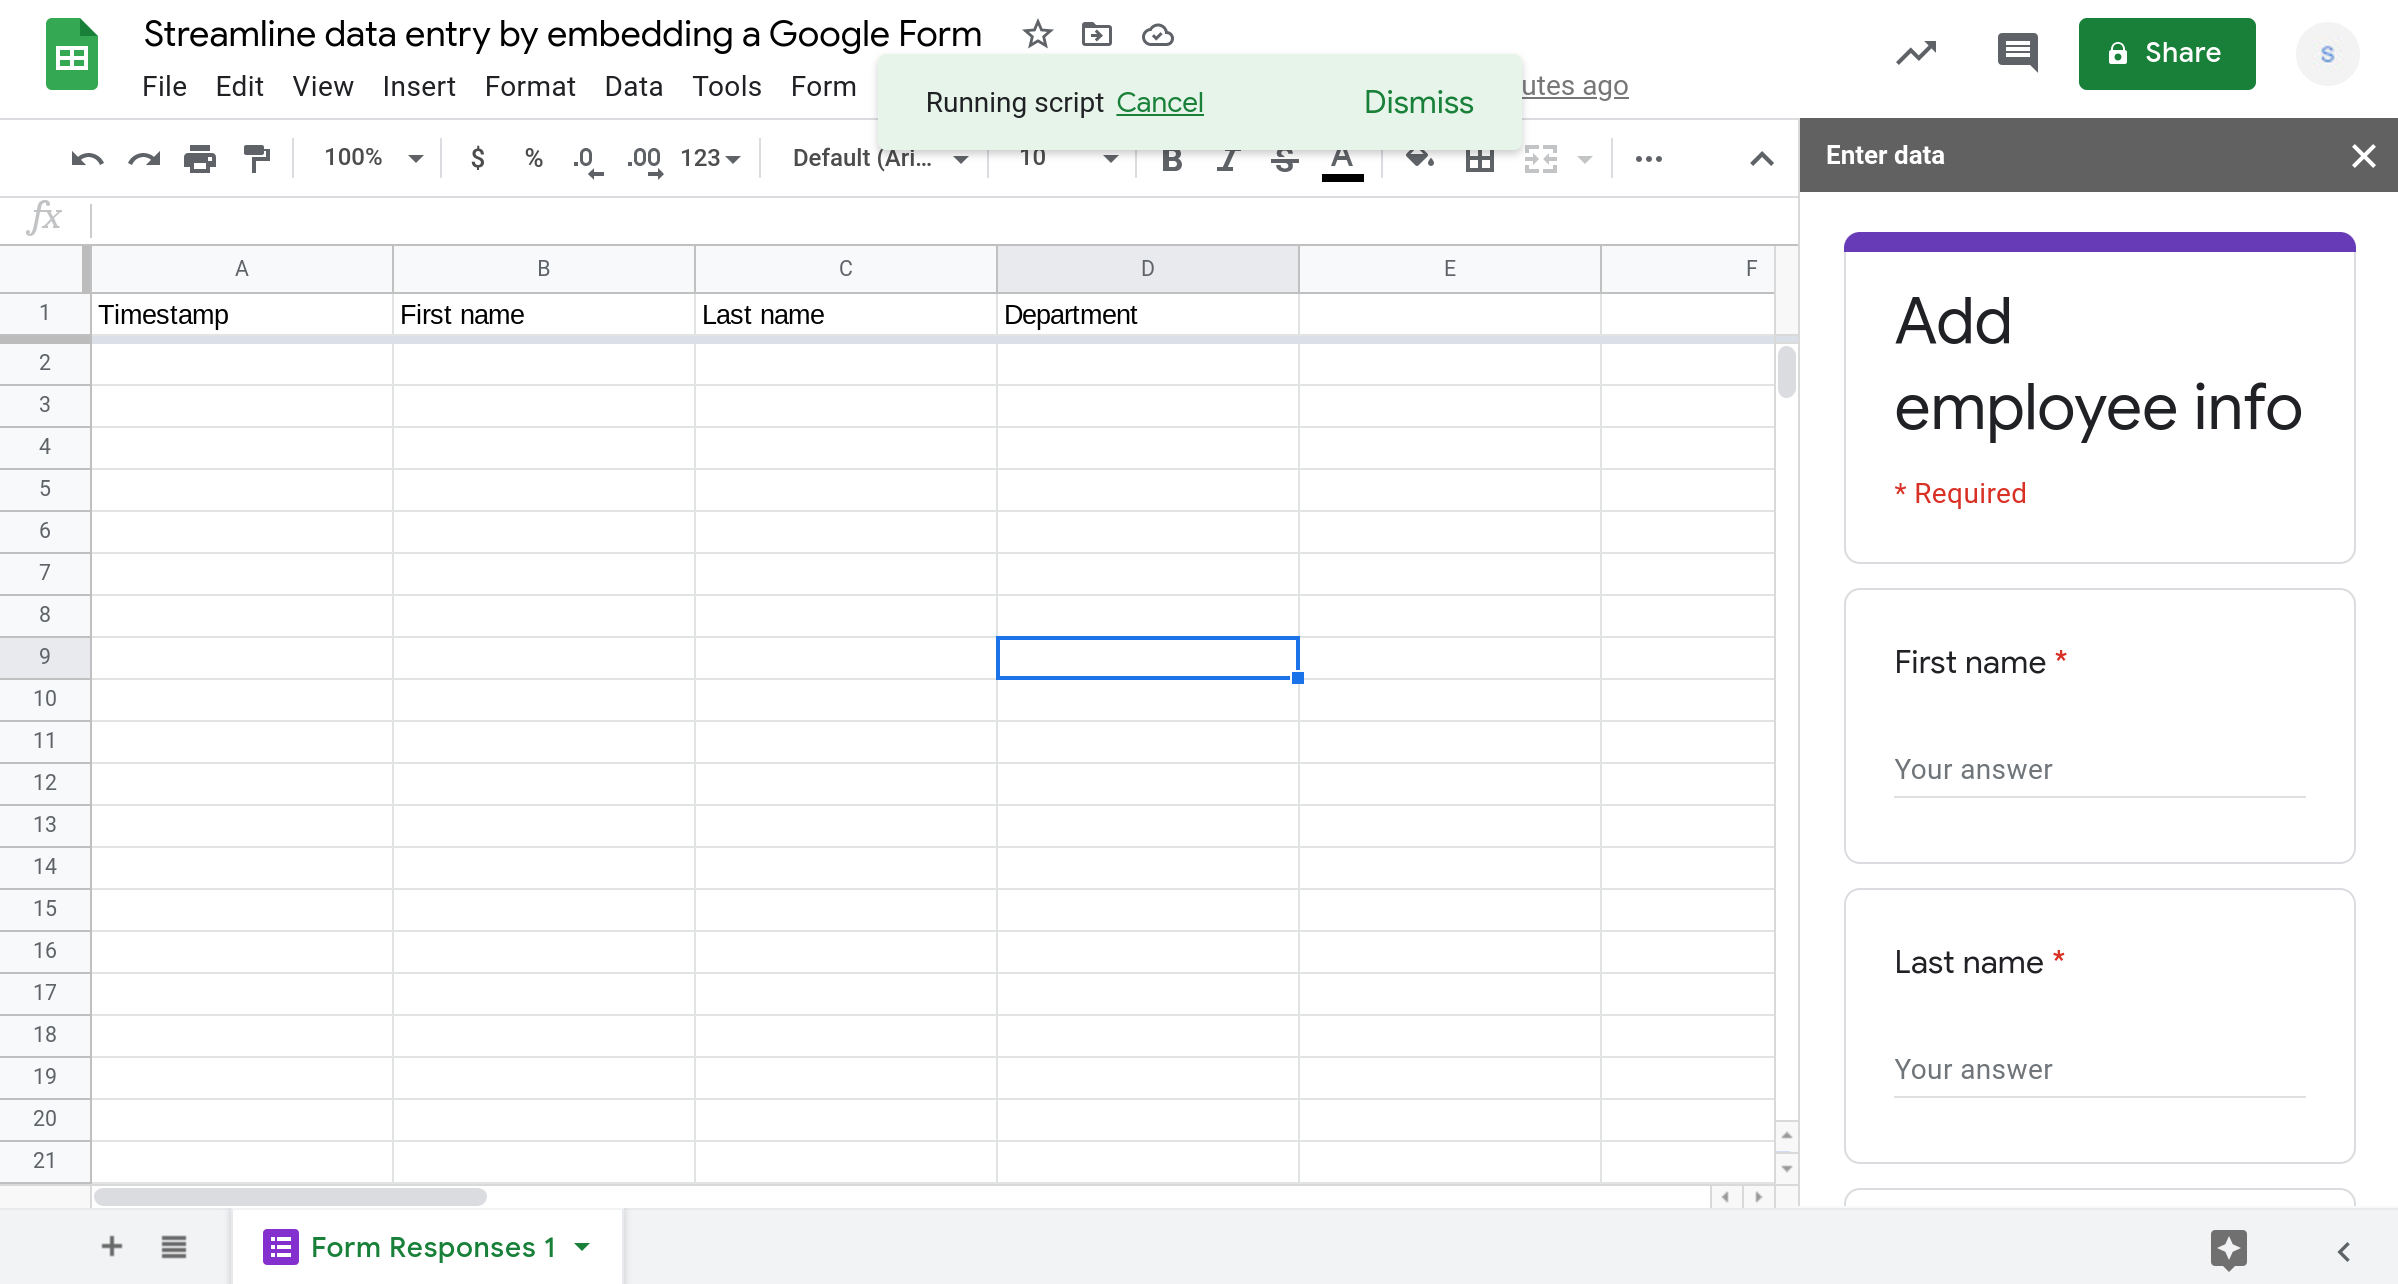
Embed a Google Form within a custom sidebar in Google Sheets using Apps Script
Instead of building a data entry form using HTML, CSS and JavaScript, you can simply create a Google Form and embed it in a custom sidebar. Please see the following tutorial for more information on how to do this: Streamline data entry by embedding Google Forms in Google Sheets using Apps Script.
Conclusion
Custom sidebars enable you to build custom user interfaces in Google Sheets using Apps Script. In this tutorial you learned how to create and use custom sidebars in Google Sheets. Specifically, you learned how to:
Use CSS and JavaScript to build custom user interfaces within a sidebar in Google Sheets
Close the sidebar manually or programmatically using Apps Script
Build data entry forms within custom sidebars in Google Sheets using Apps Script
Embed a Google Form within a custom sidebar in Google Sheets using Apps Script
Thanks for reading!
DISCLAIMER: This content is provided for educational purposes only. All code, templates, and information should be thoroughly reviewed and tested before use. Use at your own risk. Full Terms of Service apply.
Thanks for your feedback!
Your input helps improve the content for everyone.
